

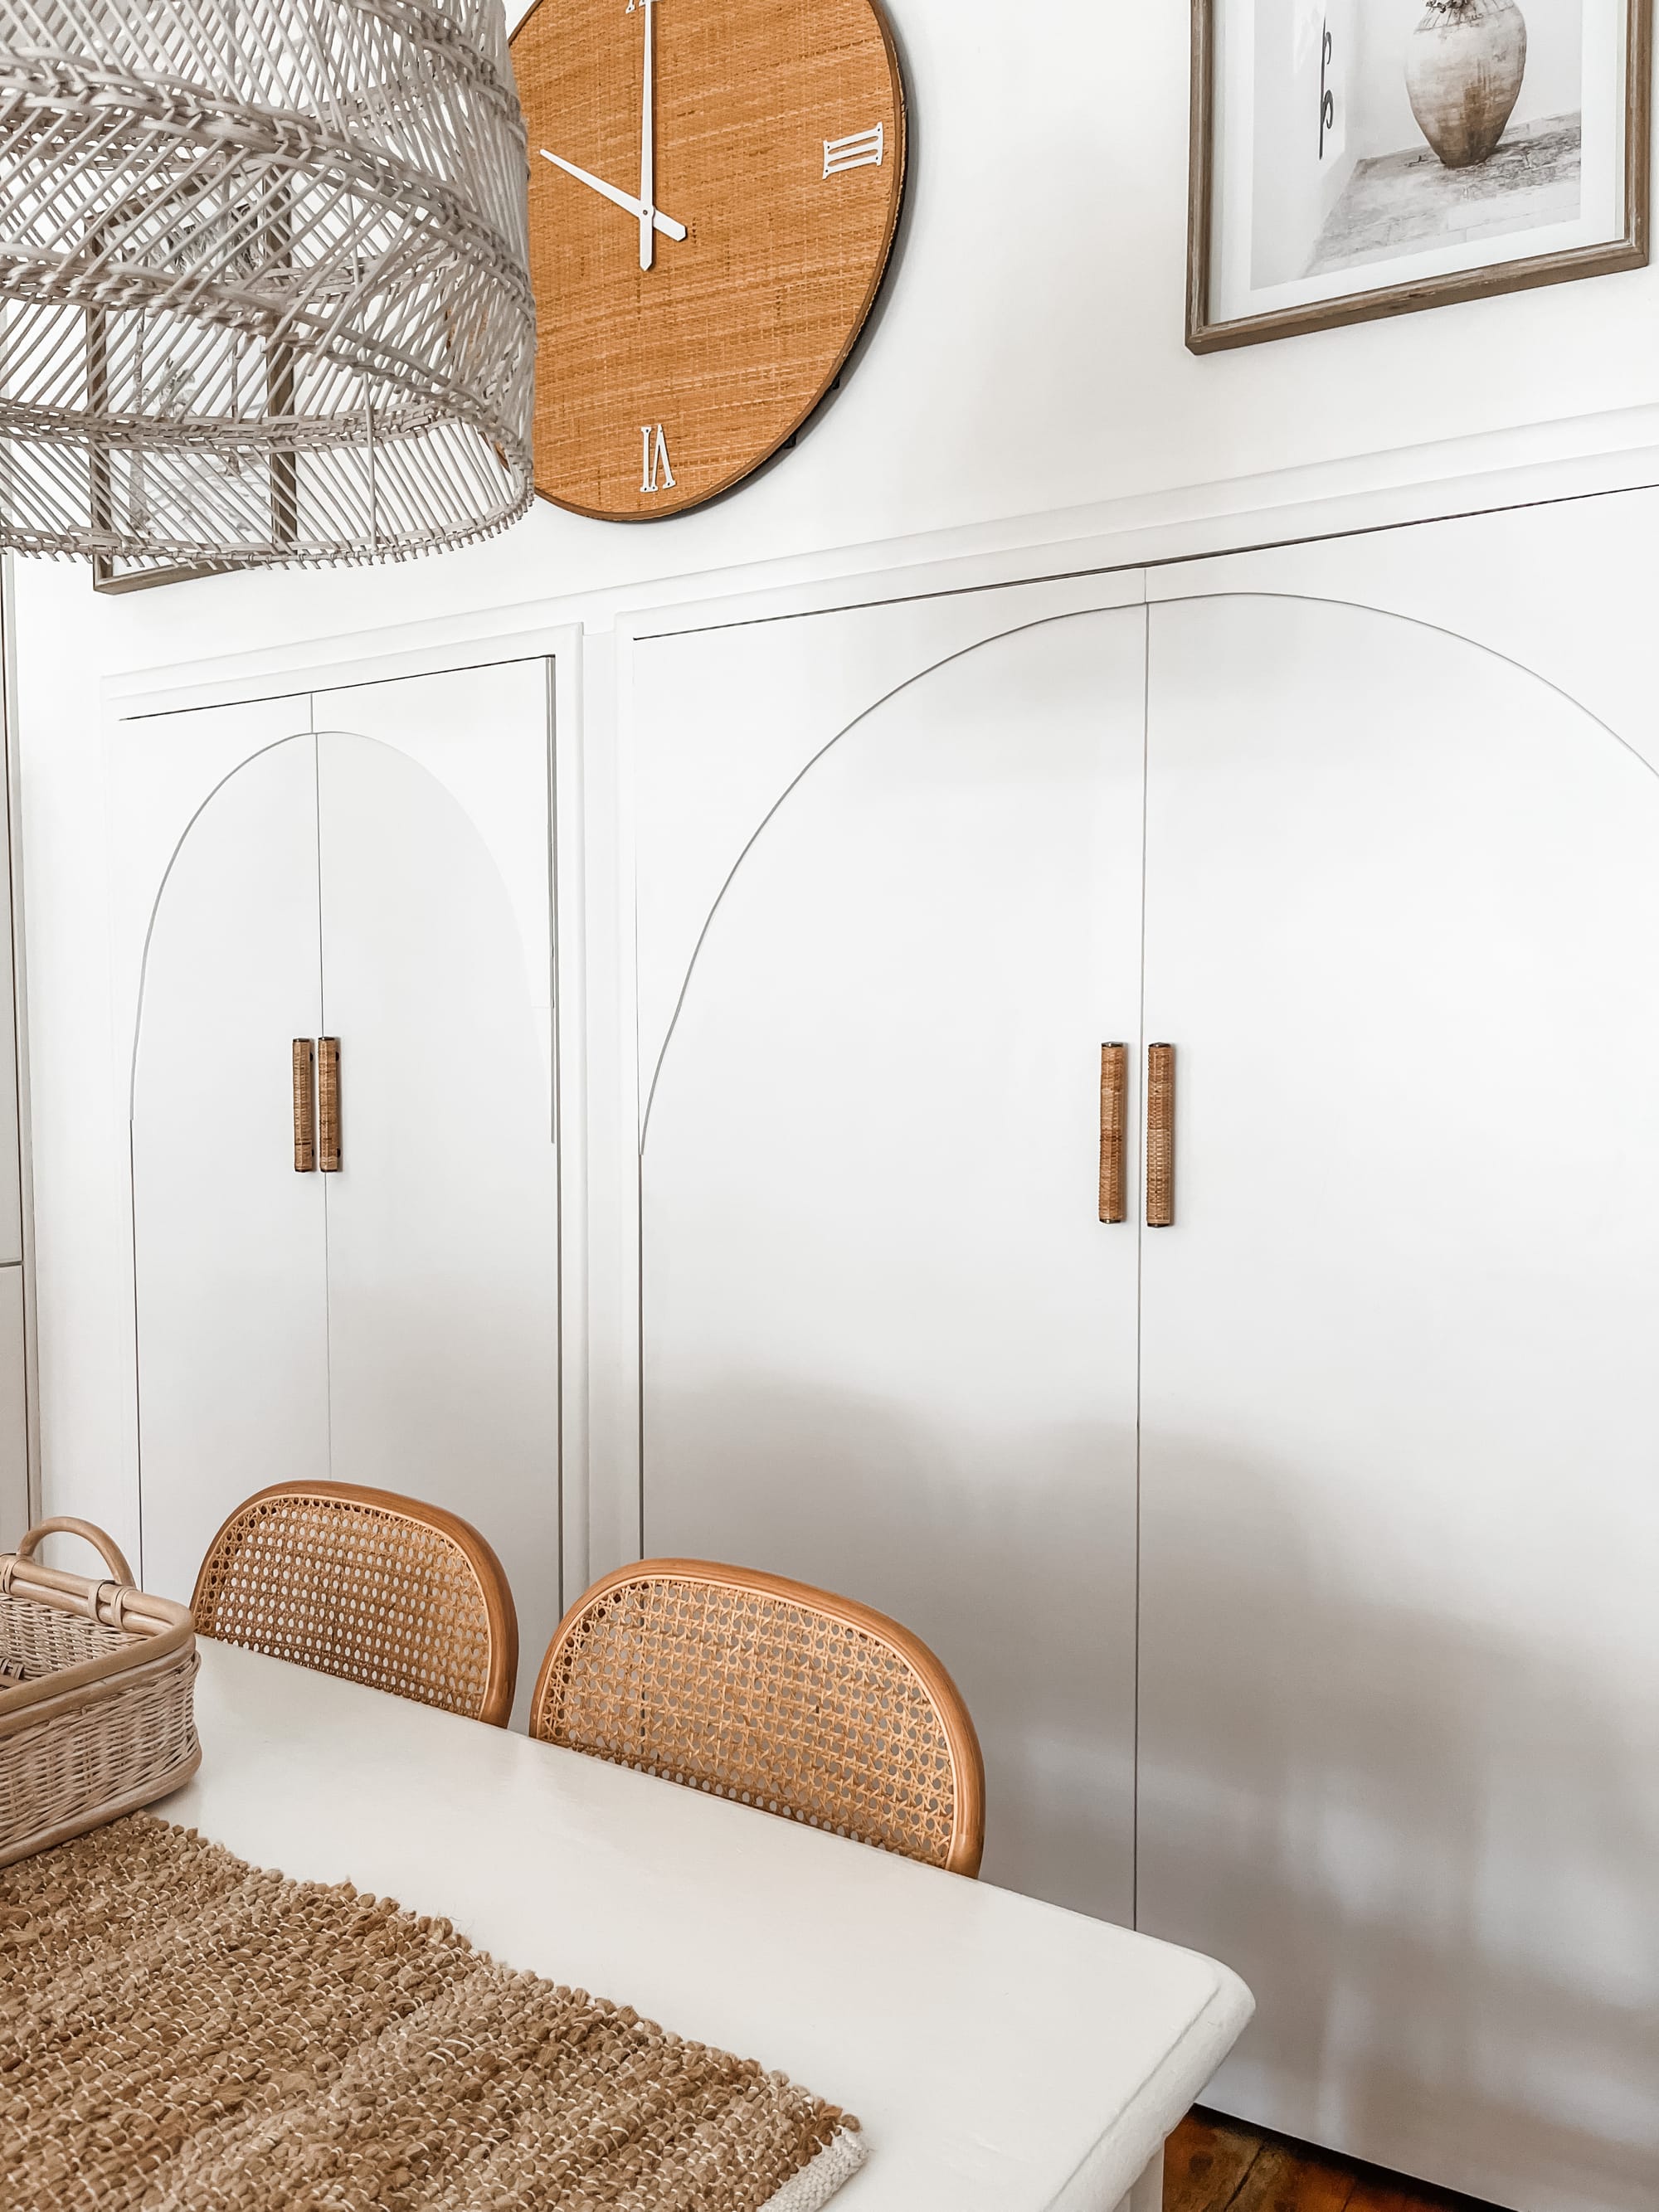
So this space needed a little more and just because I love arches! Creating and styling DIY arches in your space can be a surprisingly straightforward and an enjoyable project, adding a touch of elegance and character to any room.
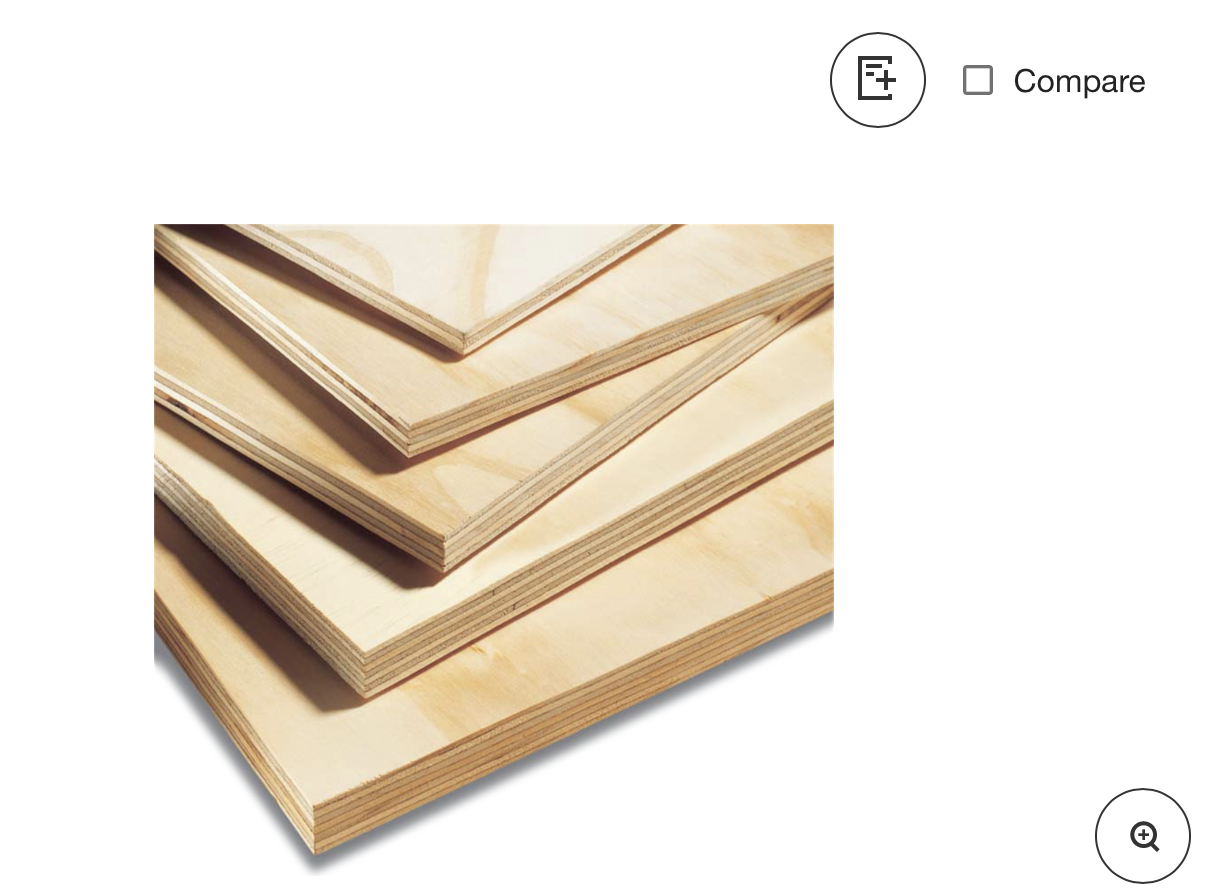
One of the simplest methods involves using readily available materials like Plywood. With a little creativity, you can customise the size and design of your arch to suit your space perfectly, whether you prefer a subtle and understated arch or a bold statement piece.
Materials/Tools Used:
- 2 pieces of 7mm plywood bought from our local Bunnings
- Tape Measure
- Masking Tape
- Liquid Nails
- Nails
- Gap Filler
- Sandpaper
- Jigsaw & Goggles
- White Water Based Paint I used Porter's Paint in Snow White
The Process:
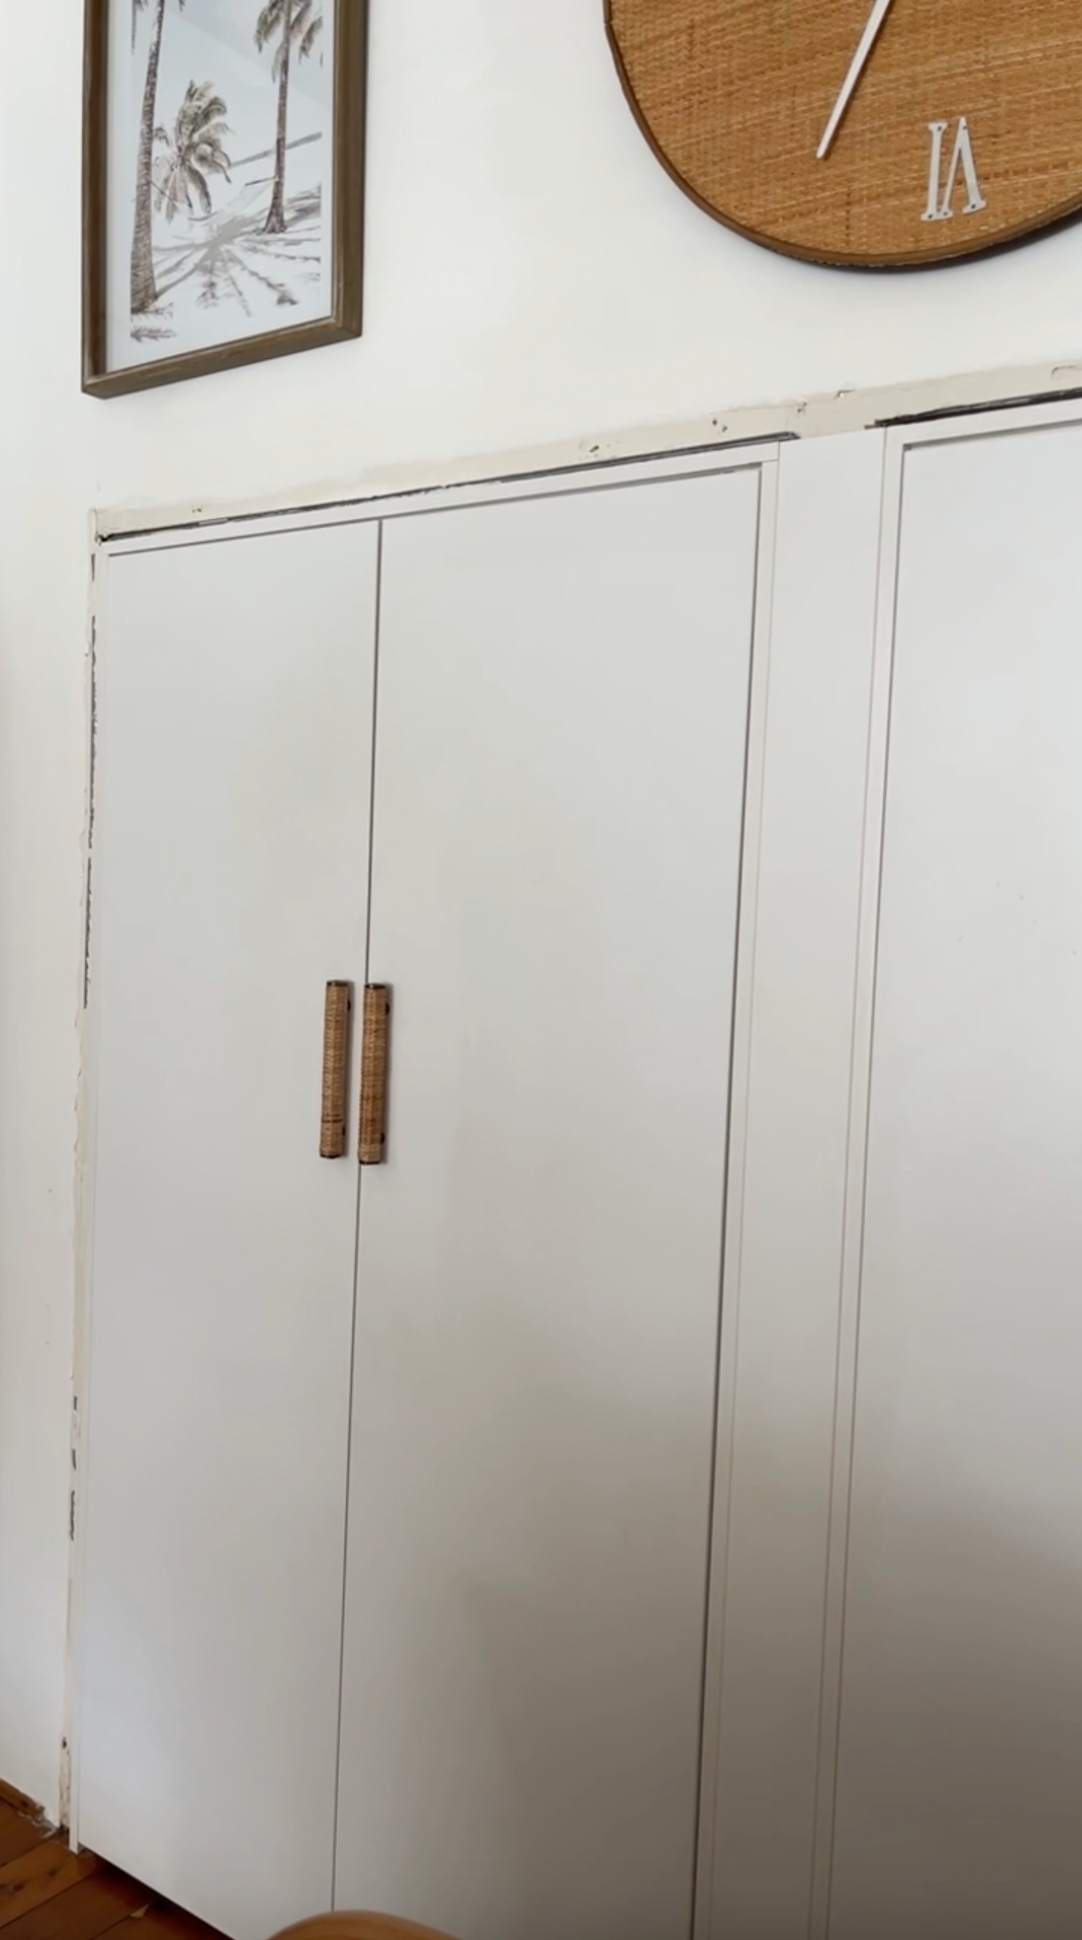
- Creating a DIY arch using plywood for doors can be a creative and cost-effective way to add architectural interest to any room. Start by measuring the width and height of the door to determine the size of plywood needed. Once you have your measurements, cut the plywood into strips wide enough to form the arch, ensuring they are long enough to span the width of the door and reach the desired height of the arch.
- Next, use a jigsaw or circular saw to carefully cut the plywood strips into curved shapes that will form the arch. You can either create a template to guide your cuts or freehand the curves for a more organic look. Once the strips are cut, sand the edges smooth to remove any roughness or splinters.
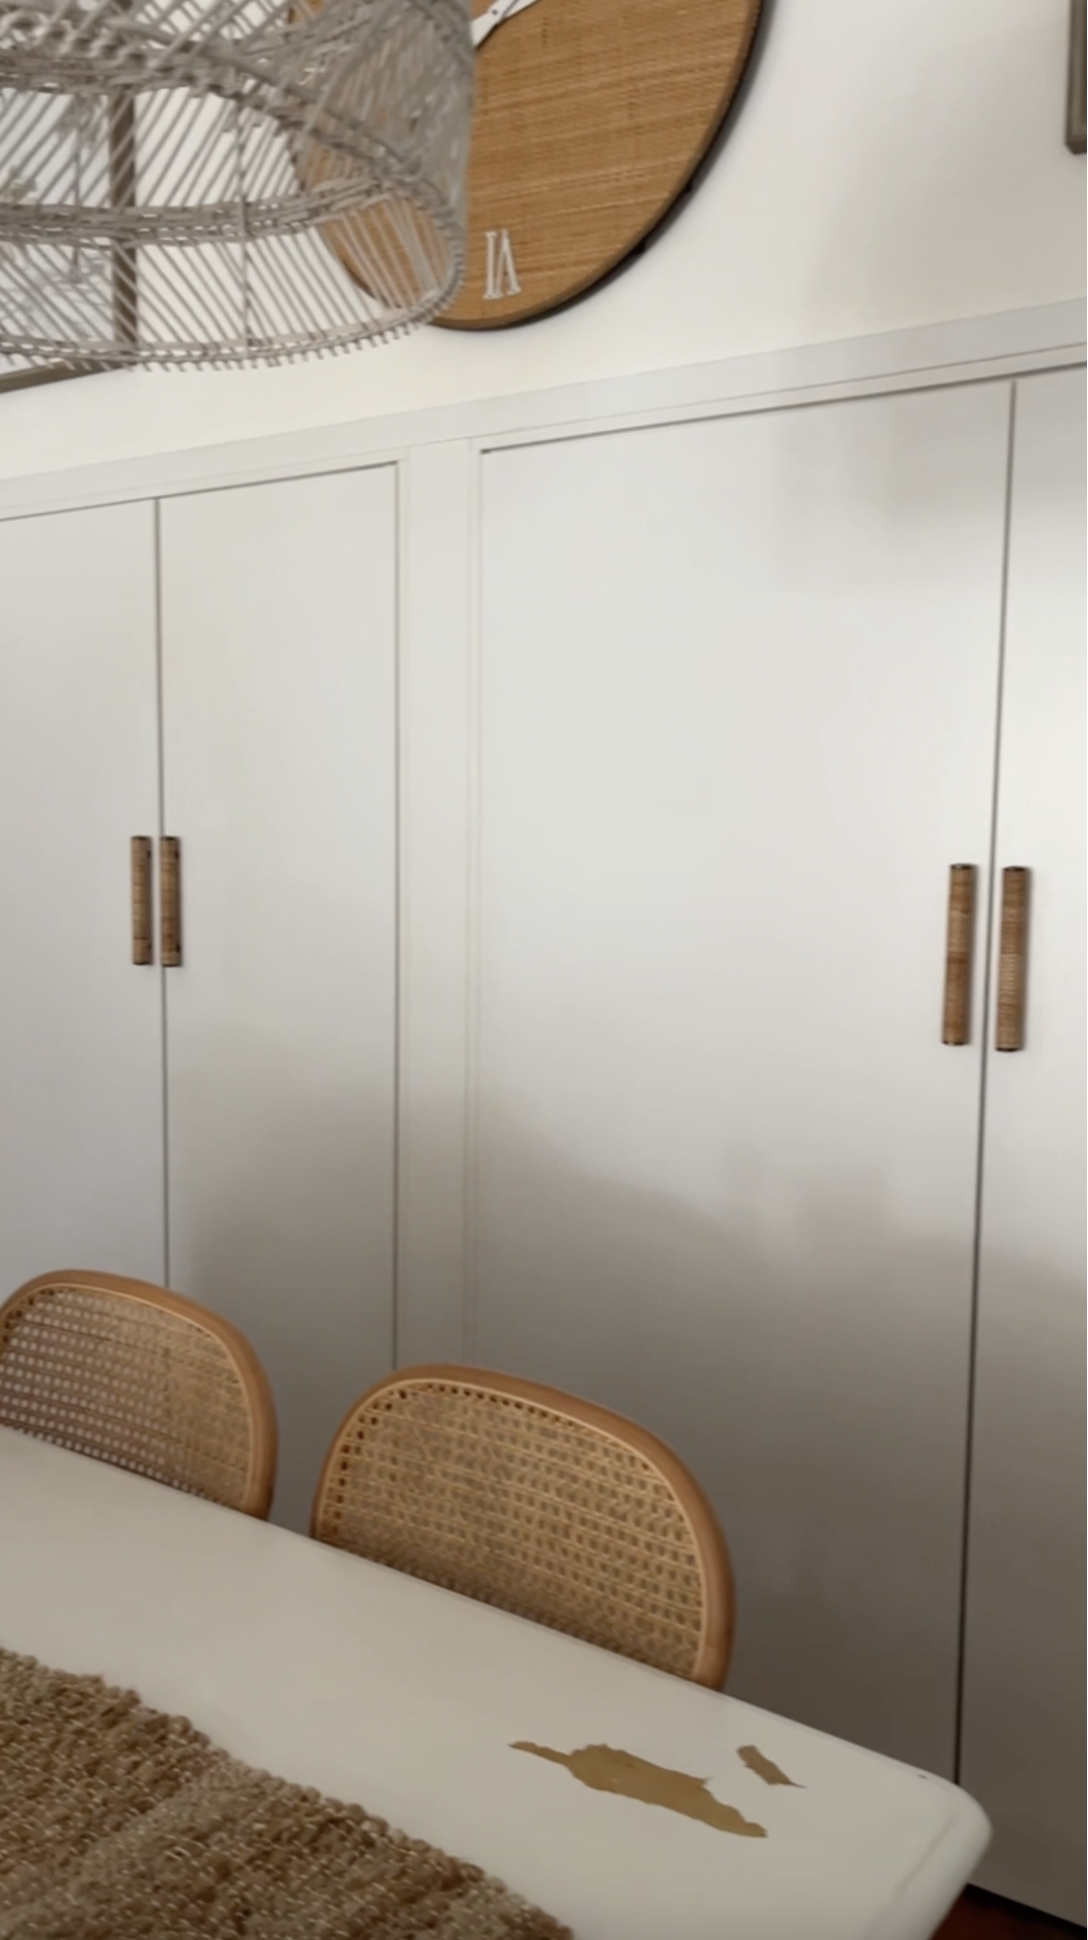
- To assemble the arch, attach the plywood strips to the door using wood glue and nails or screws. Start by securing the bottom of each strip to the sides of the door, gradually working your way up and ensuring that the strips are evenly spaced and aligned to create a smooth curve. Once the arch is in place, fill any gaps or seams with filler and sand the surface for a seamless finish.
- Finally, paint or stain the arch to match your decor and enjoy the custom, architectural element you've added to your space. We used a water based white paint by Porter's Paint in Snow White.

Consider painting or staining the arch to complement your existing decor, or leave it in its natural state for a rustic charm. Don't be afraid to experiment with different materials and finishes to achieve the desired aesthetic for your space. Whether you're creating a whimsical entryway or a dreamy backdrop for wedding photos, DIY arches offer a versatile and budget-friendly way to elevate your interior design.
Creator: Christiana
Follow: Design Divine on instagram for more Interior Styling, Decorating Inspiration, Renovations and DIY's.
Instagram: @designdivine