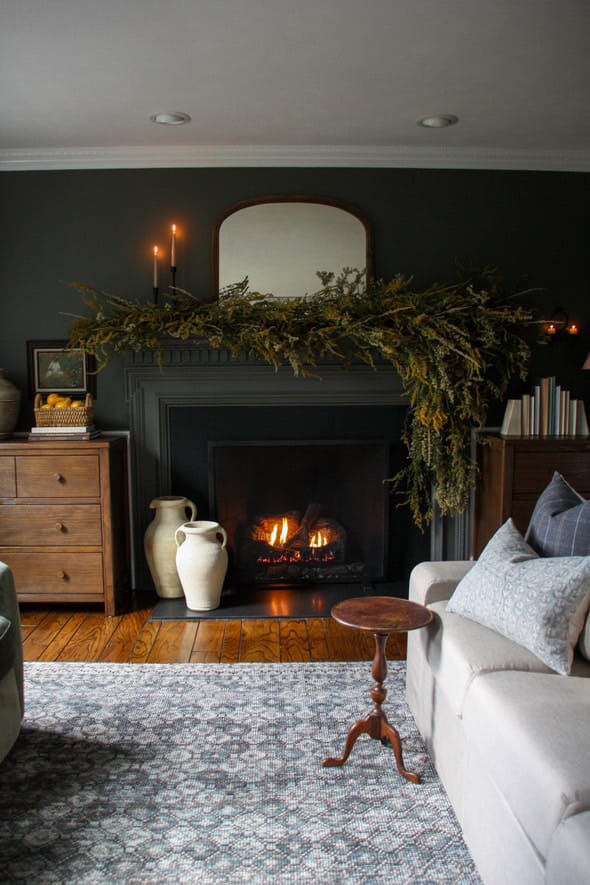
In an era where sustainability meets style, creating a beautiful and budget-friendly fireplace garland can be as simple as stepping into your backyard. When I first envisioned a moody garland display for my den, I never imagined it would come together so seamlessly with just weeds and a little creativity.
By using natural elements that might otherwise go unnoticed, not only did I achieve a stunning home decor piece, but I also found a new appreciation for the humble beauty of backyard finds.
Join me as I share my step-by-step guide to crafting a sustainable garland, a project that promises to inspire your DIY spirit and transform your space with nature's understated elegance.
What You Need:
- Backyard weeds with diverse foliage
- Neem oil
- Scissors or pruning shears
- String or twine
- Dehumidifier (optional)
- Hairspray
- Twigs or dried flowers (optional)
Step-by-Step Guide
Step 1. Collecting Backyard Weeds
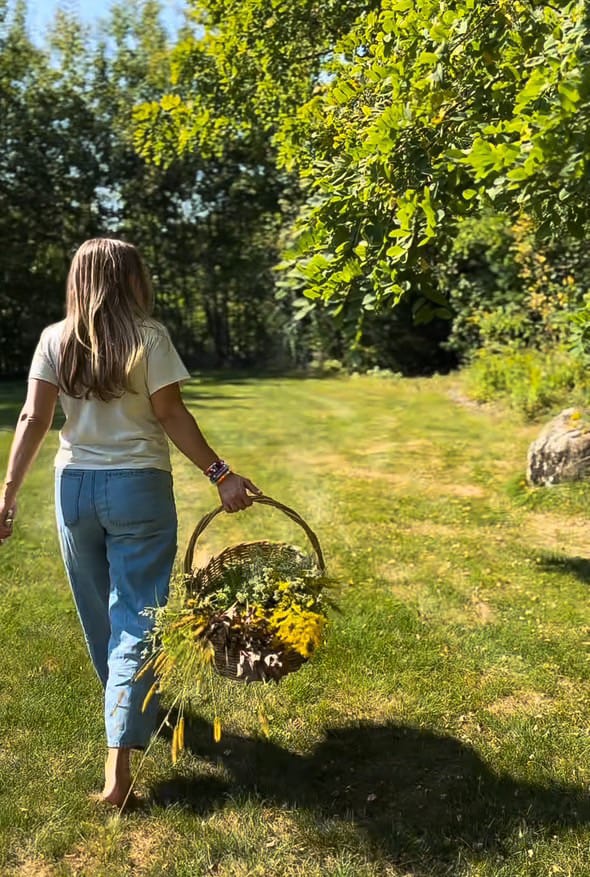
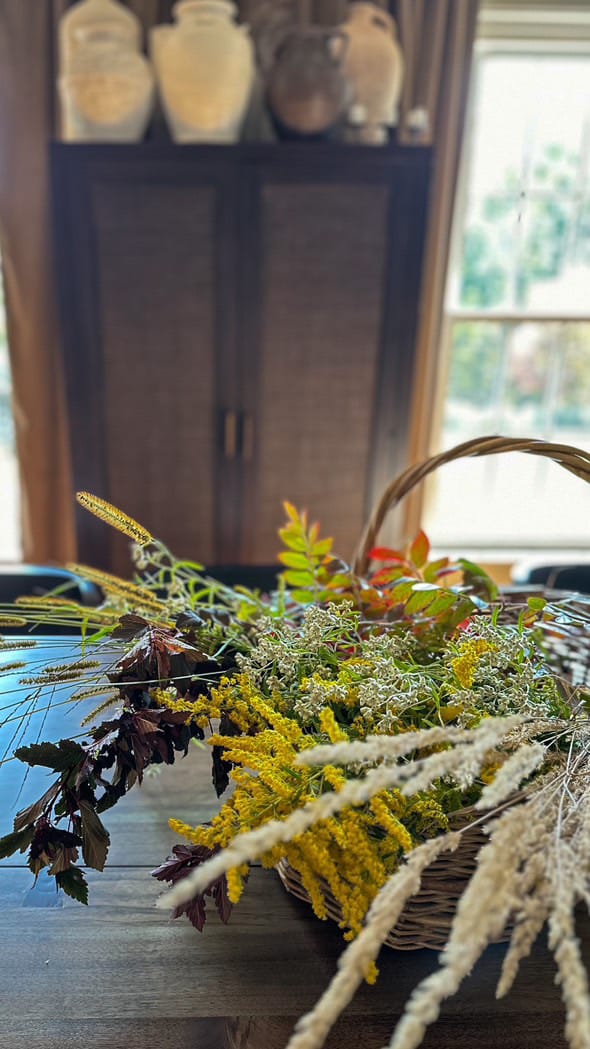
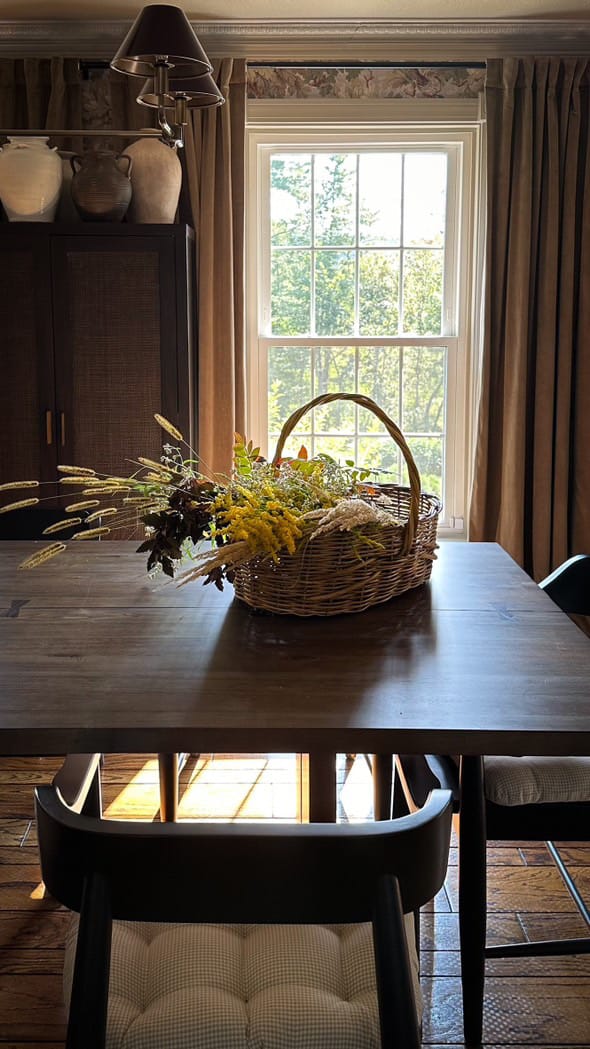
When it comes to gathering materials for your DIY garland, the backyard is a treasure trove of potential. Start by collecting a variety of weeds, focusing on those with diverse foliage to add texture and depth to your fireplace garland. I found it best to gather them when they're in full bloom, ensuring their colors and forms are at their peak.
Don’t worry about over-collecting—it's better to have more than you think you'll need. Once you’ve collected your weeds, lay them out and give them a good spray with neem oil. This simple step is crucial to prevent any unwanted bug infestations once you bring them indoors.
Step 2. Preparing Your Finds
Once you've gathered your backyard stems, it's time to prepare them for drying. Begin by removing any lower leaves from the stems, as this helps focus the drying process on the more visually appealing parts of the plants.
Trim the stems to your desired length, considering the final look you want for your fireplace garland. Group the weeds into small bunches and tie them together tightly. Hanging them upside down in a well-ventilated space is key; I opted for my garage, where I used a dehumidifier to ensure they dried thoroughly.
Keeping them away from direct sunlight preserves their colors and prevents them from becoming brittle too quickly. Let them hang for over two weeks to achieve the optimal dryness. Before moving on to the next step, lay them out again, trim any unsightly bits, and give them a light spray with hairspray. This added touch helps maintain their shape and integrity.
Step 3. Building the Mantel Display
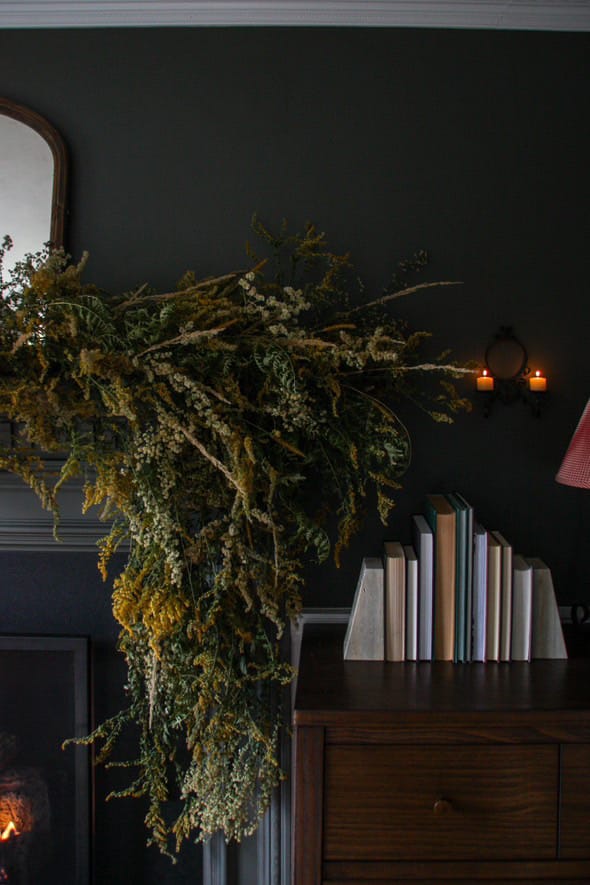
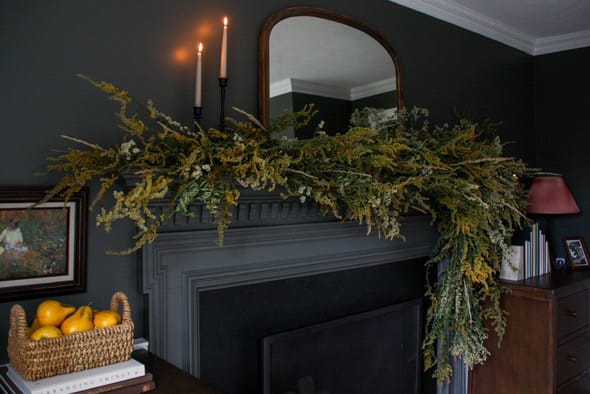
Creating the perfect mantel display begins with a vision for how you want the garland to complement your space. Start by placing the largest pieces of your dried weeds across the mantel. These will act as the foundation for your fireplace garland, offering structure and visual weight. As you lay these pieces out, adjust them to follow a natural flow, trimming branches that don’t sit well.
Next, fill in the gaps with smaller pieces, layering them to add texture and depth. Don't hesitate to move things around until you're satisfied with the arrangement. A vacuum is handy to keep the area clean, as this step can get a bit messy.
Once complete, step back and assess the overall look. The interplay of different foliage types should create a harmonious display that captures the essence of natural decor. Adjust any pieces that seem out of place, ensuring the overall design feels cohesive and natural.
Consider adding small accents, like twigs or dried flowers, to enhance the texture and color palette. These subtle additions can elevate the aesthetic and make your fireplace garland uniquely yours.
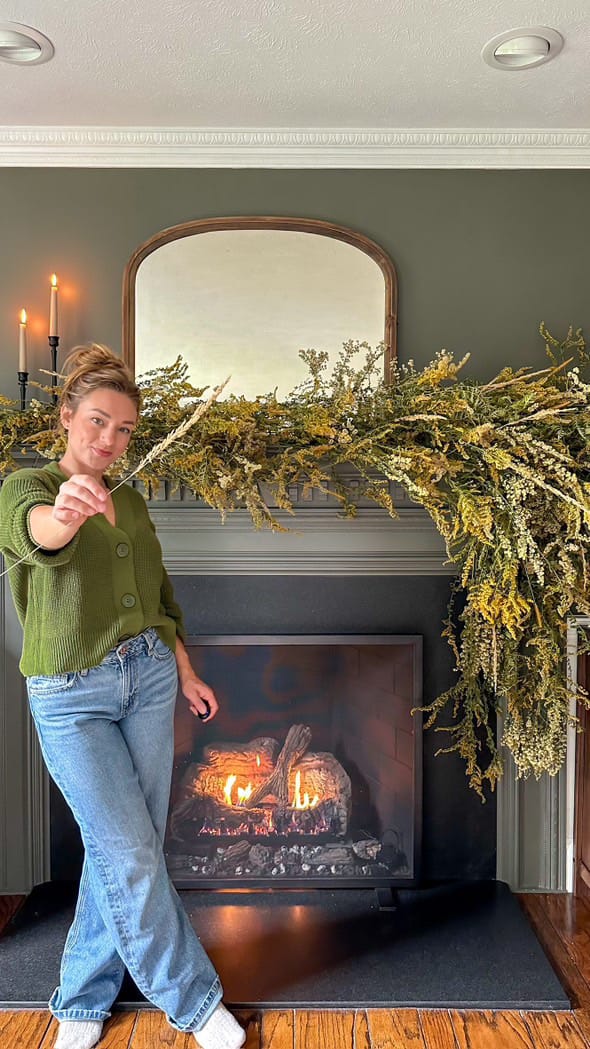
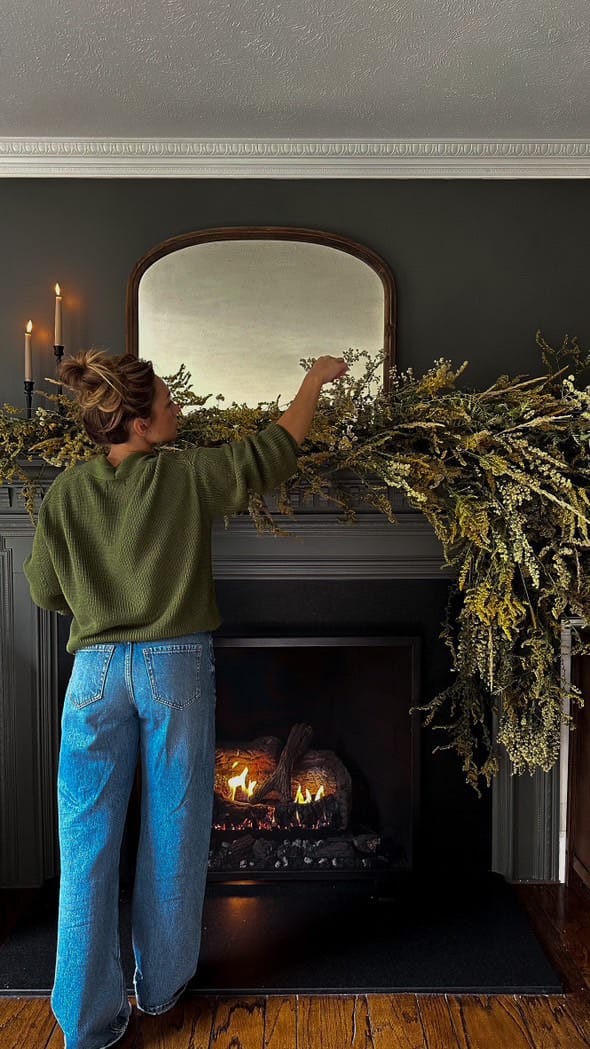
Reusing natural materials not only saves money but also gives you the chance to create something truly unique. This garland now graces my den, filled with natural charm and character. Plus, the sense of accomplishment you get from transforming simple backyard finds into a stunning decor piece is unmatched.
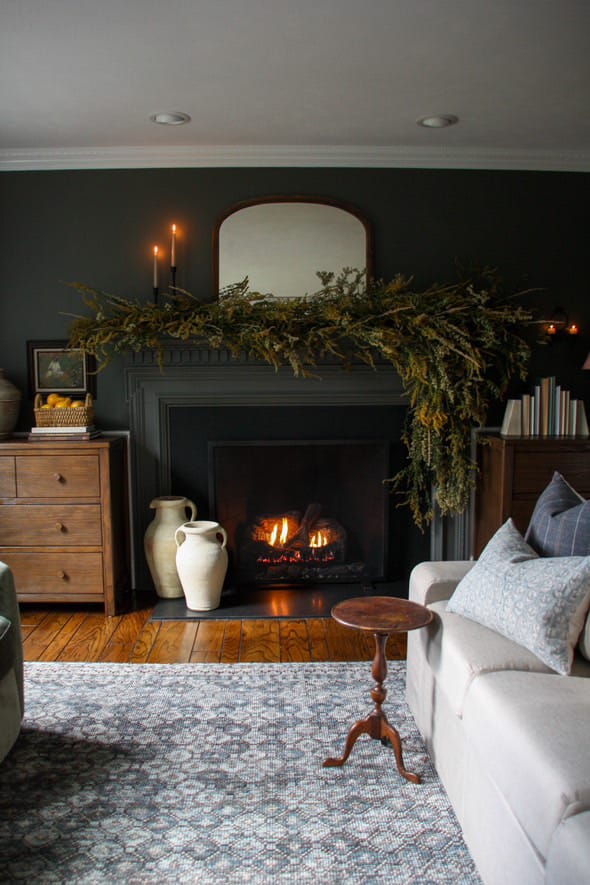
I hope this inspires you to tackle your own DIY projects and transform your space with creativity and style. If you liked this post don't forget to follow me on Instagram and check out the original Blog-Post
Happy crafting!
Creator: Kate
Instagram: @libertyhilldesign


