

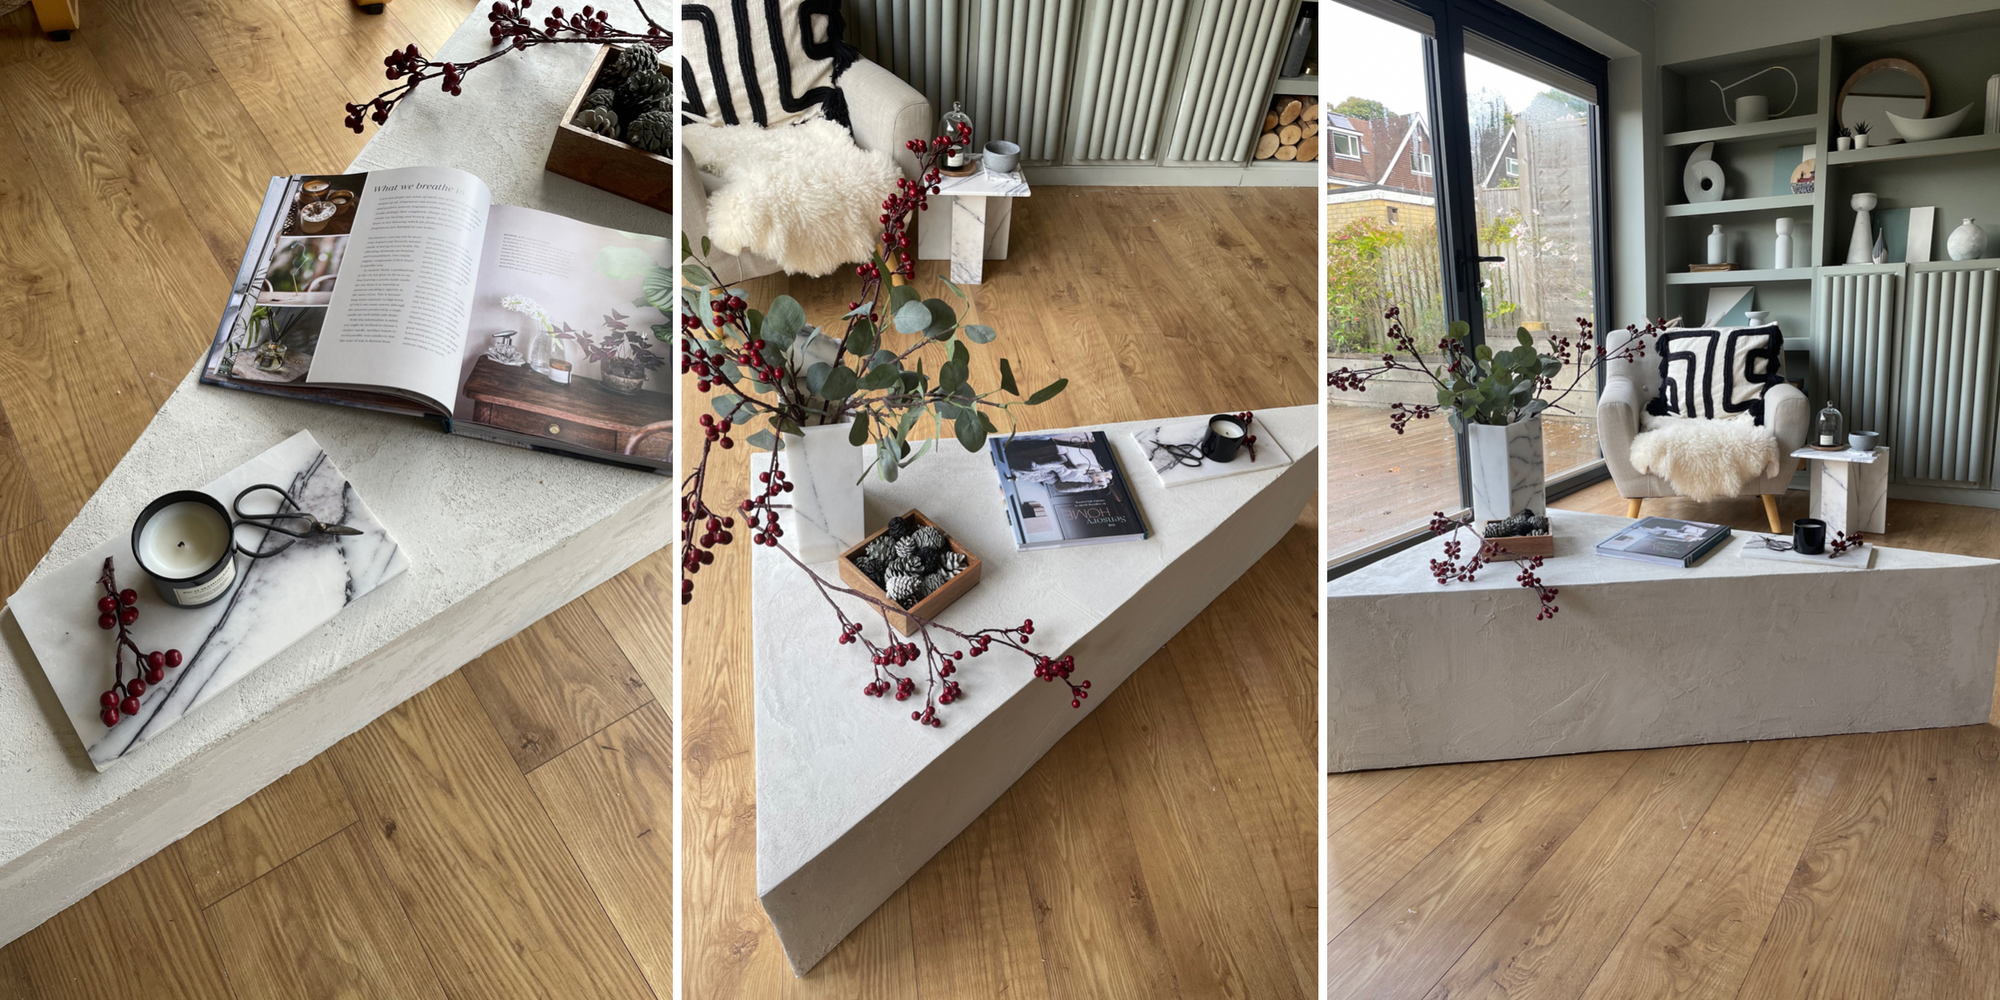
A Unique and Stylish DIY Project for Your Living Room using leftover plywood and micro-cement.
Micro-cement has become a popular choice for DIY projects and for a good reason. It's affordable, easy to use, and can create a million things. In this tutorial, we will show you how to build a coffee table using micro-cement and leftover plywood.
Instructions:
Step 1: Source the Materials
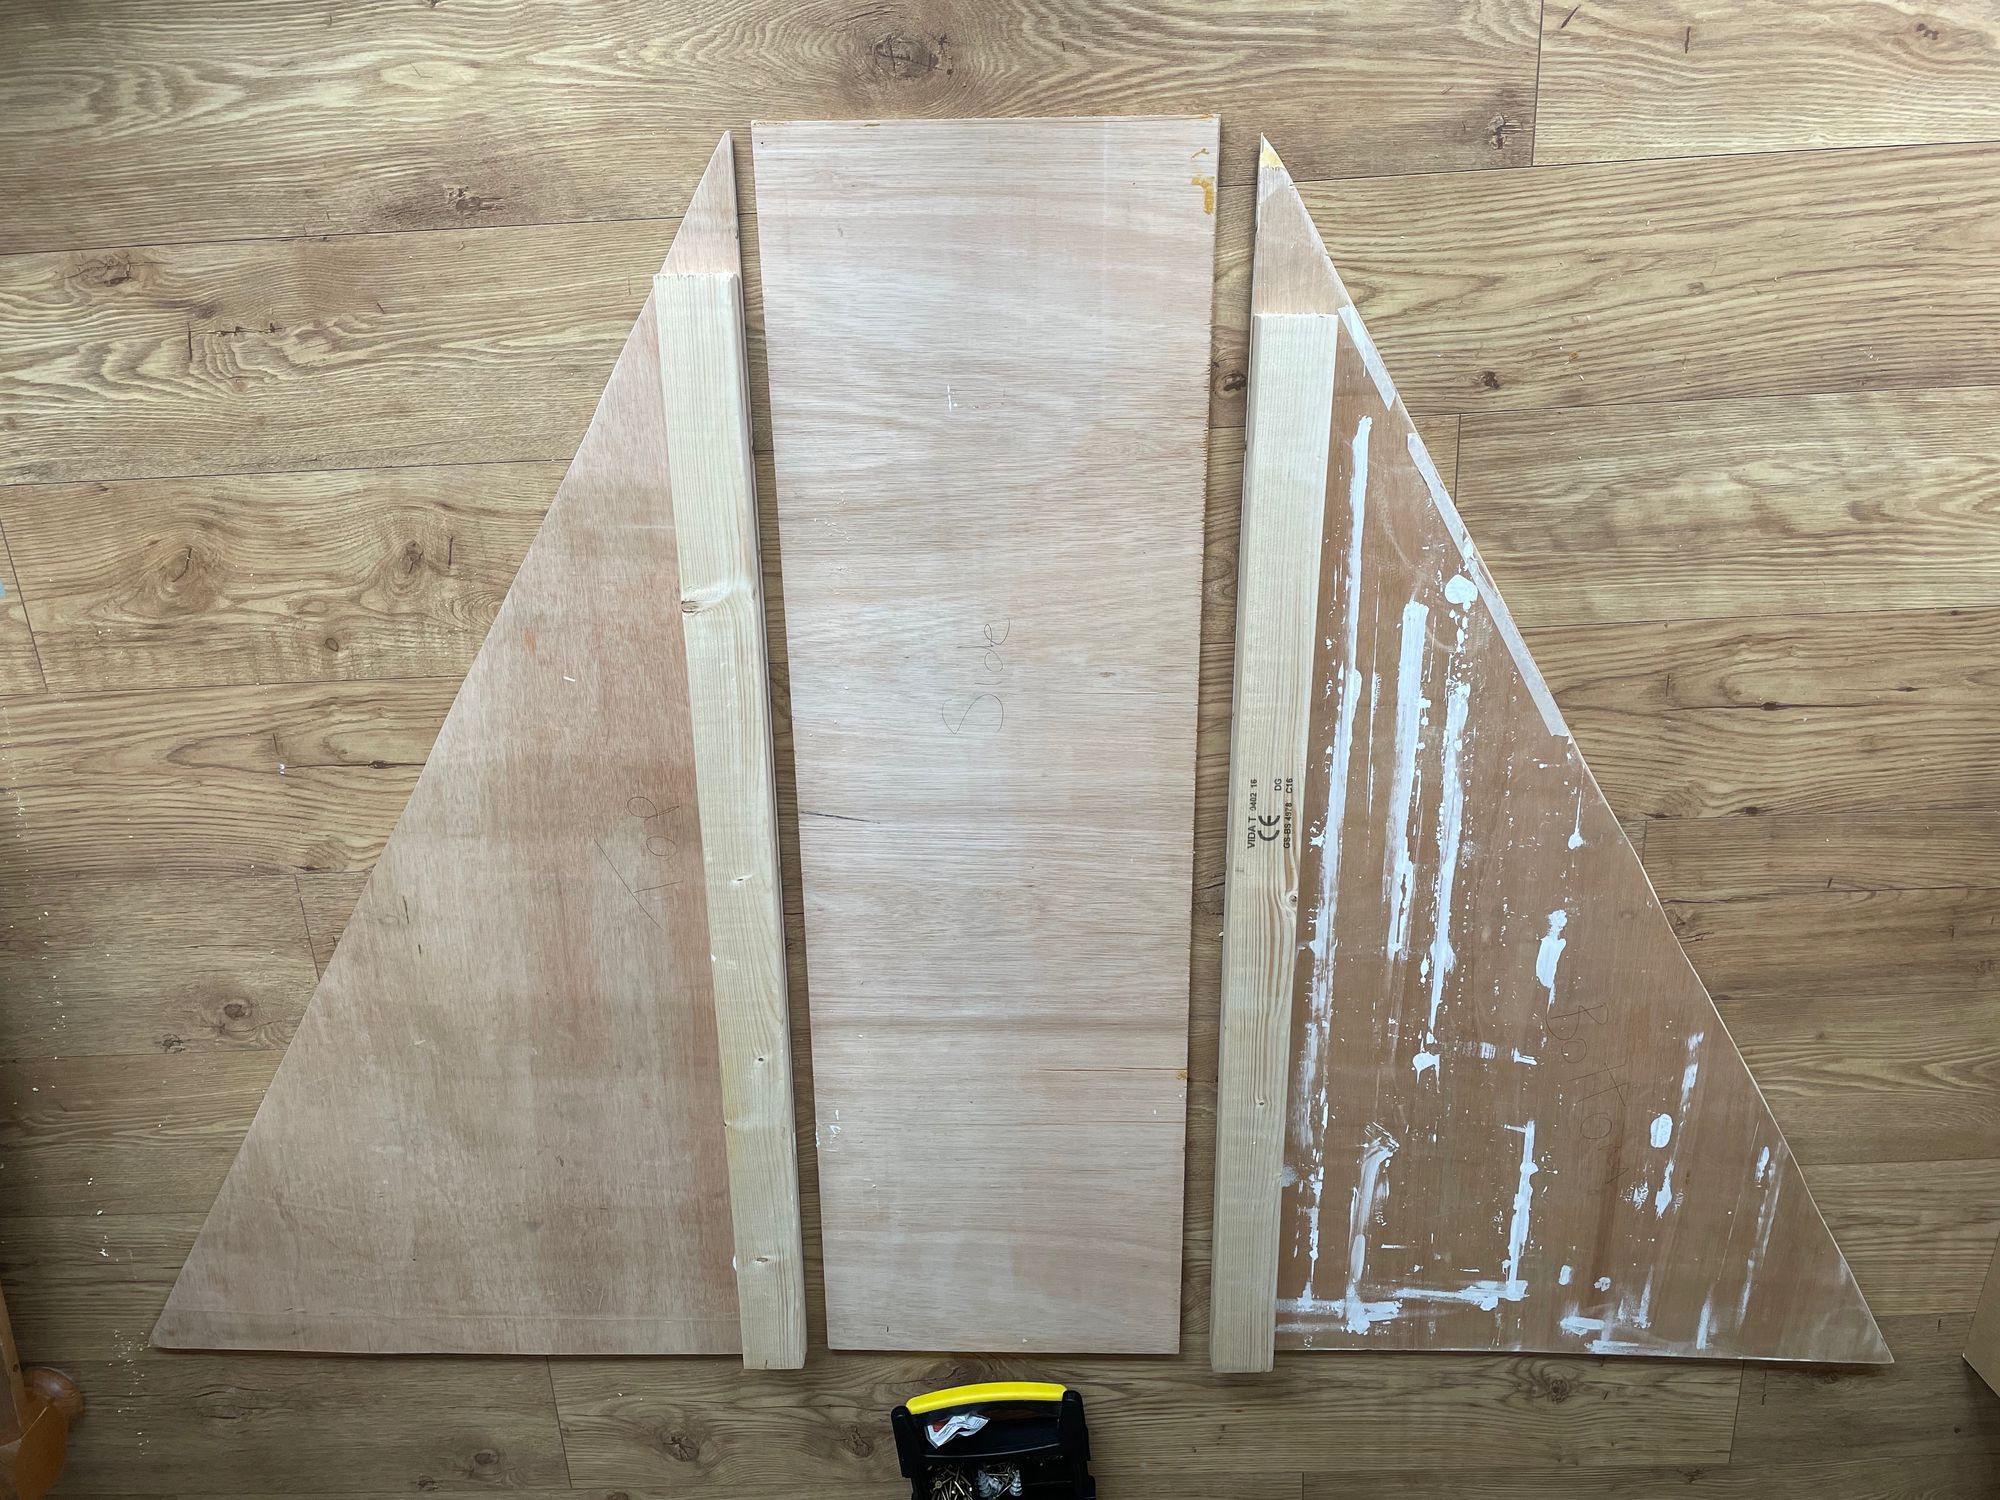
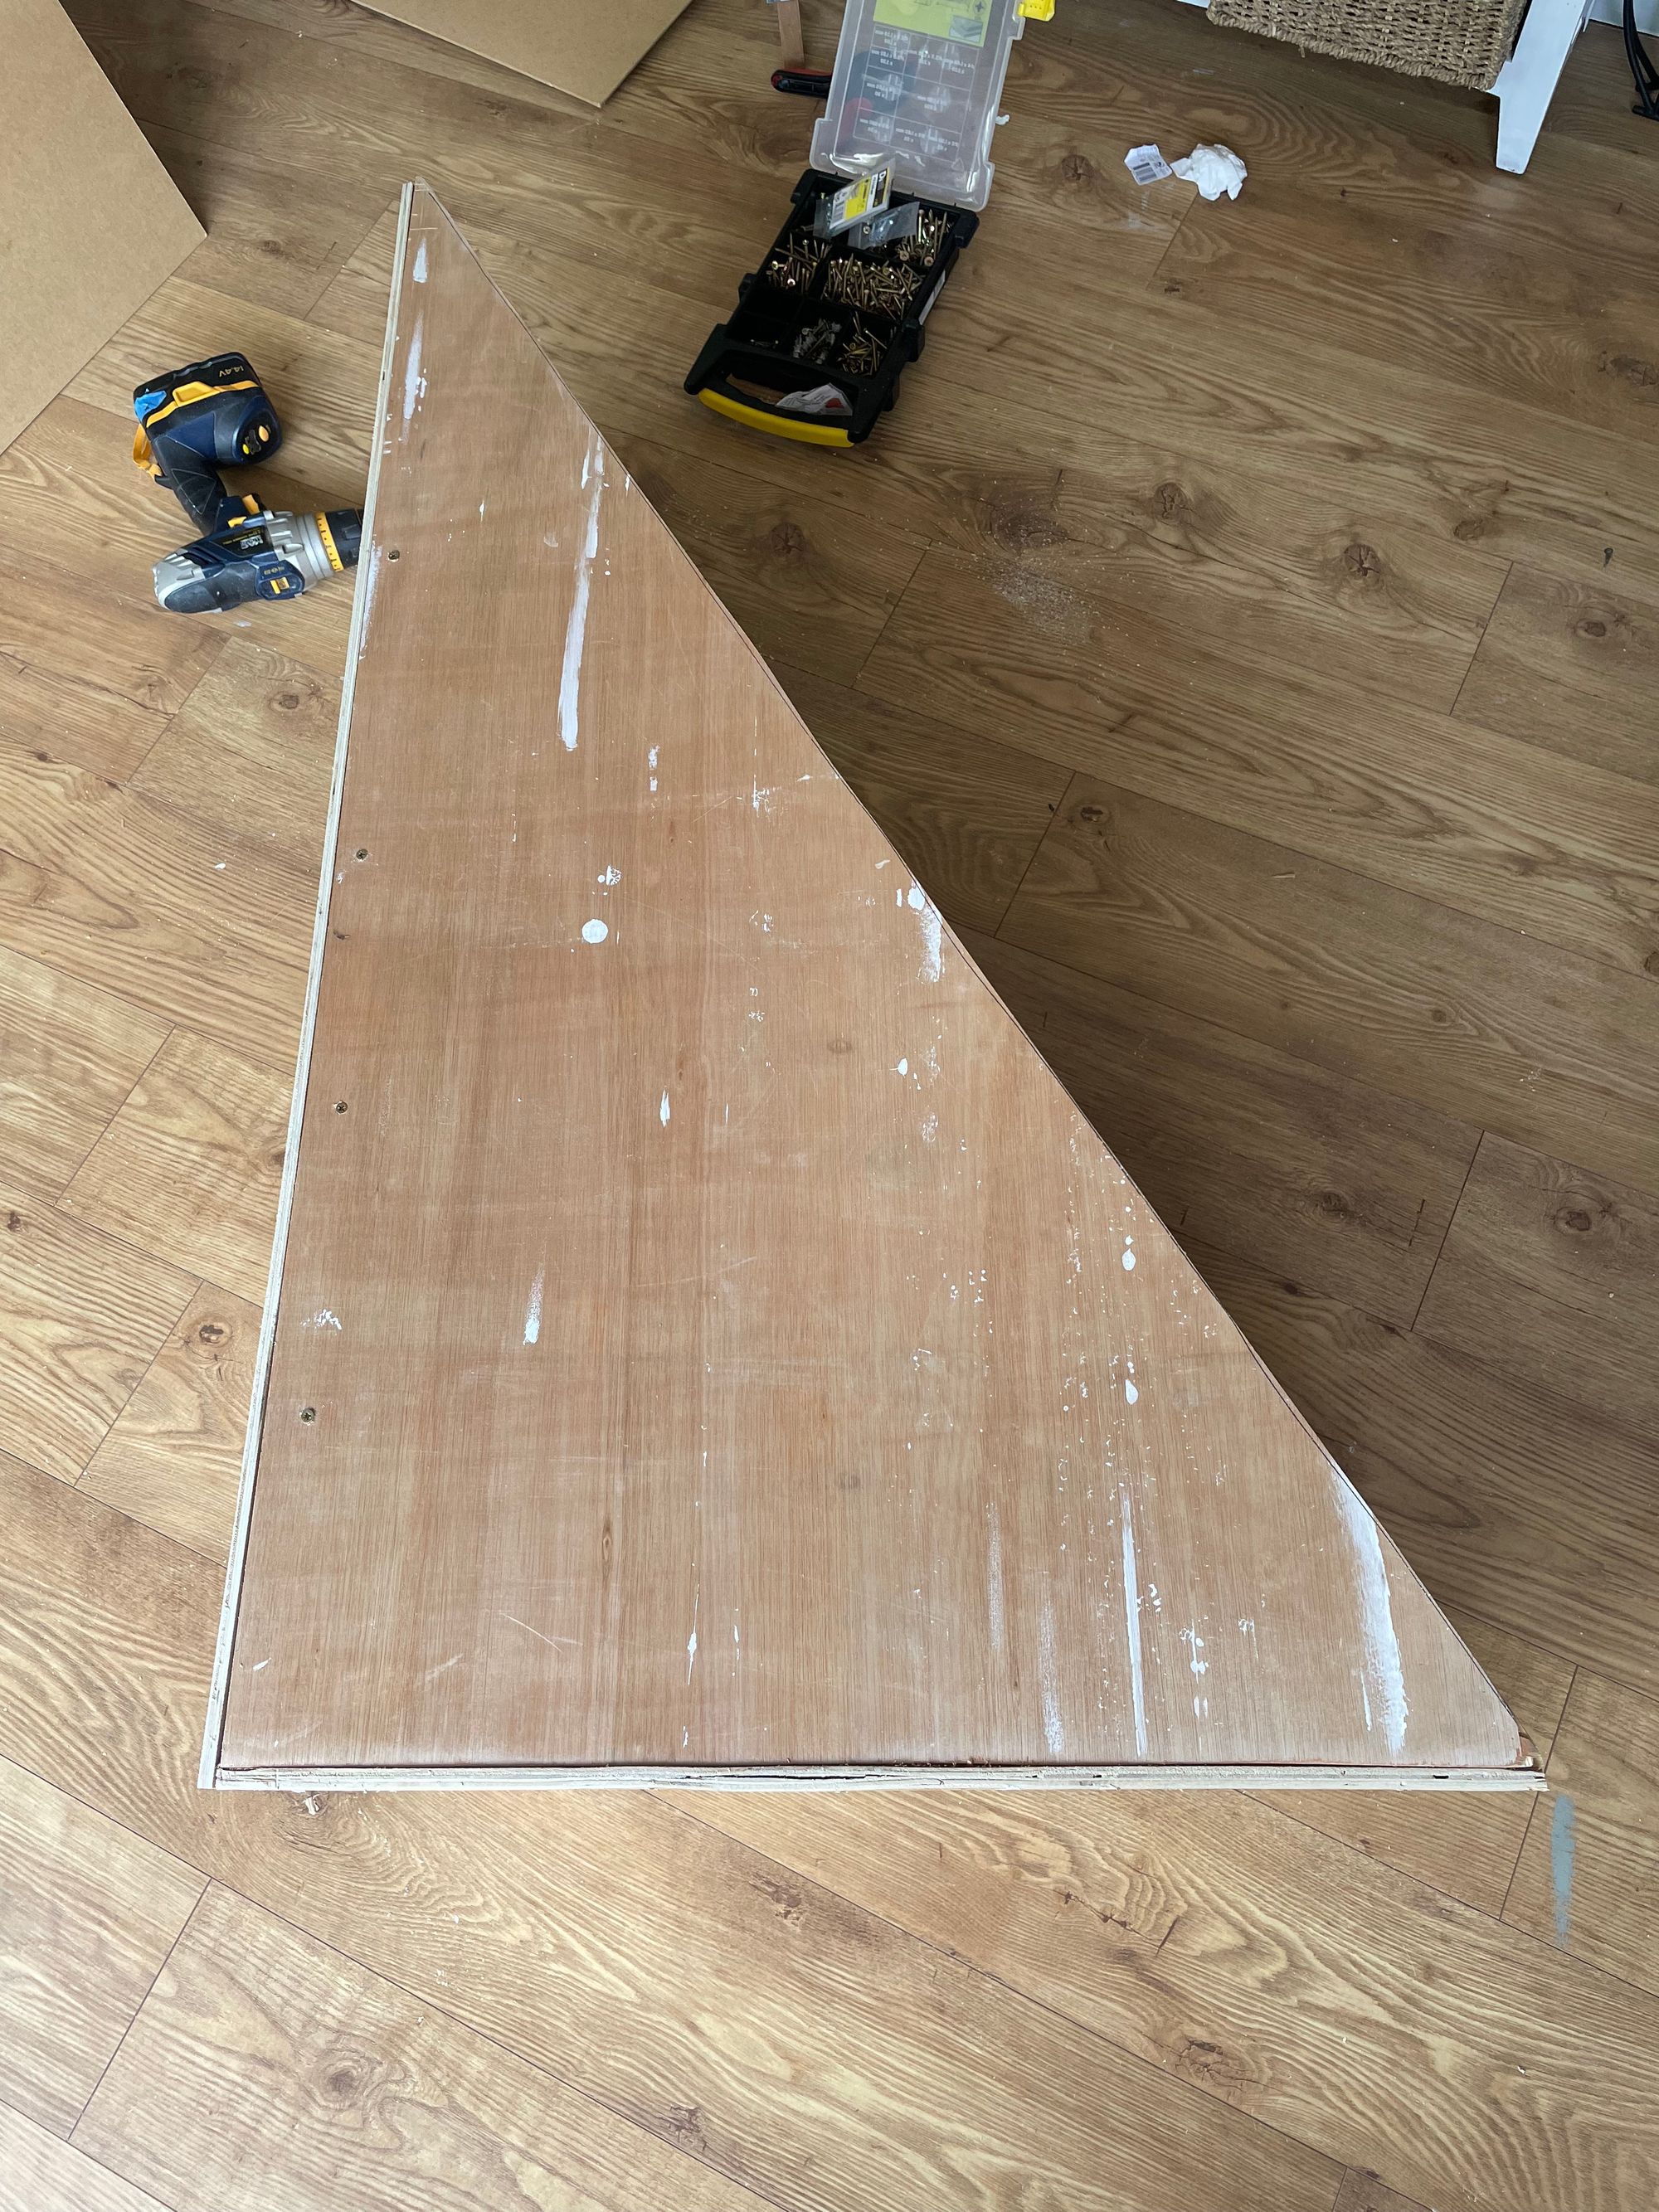
For this project, you can use any type of wood that you prefer. I used leftover plywood from a previous project. I cut the plywood sheet in half diagonally to create a right-angled triangle since she wanted a triangle-shaped coffee table. If you don't have any leftover wood, you can buy one and decide on your preferred size beforehand.
Step 2: Prepare the Frame
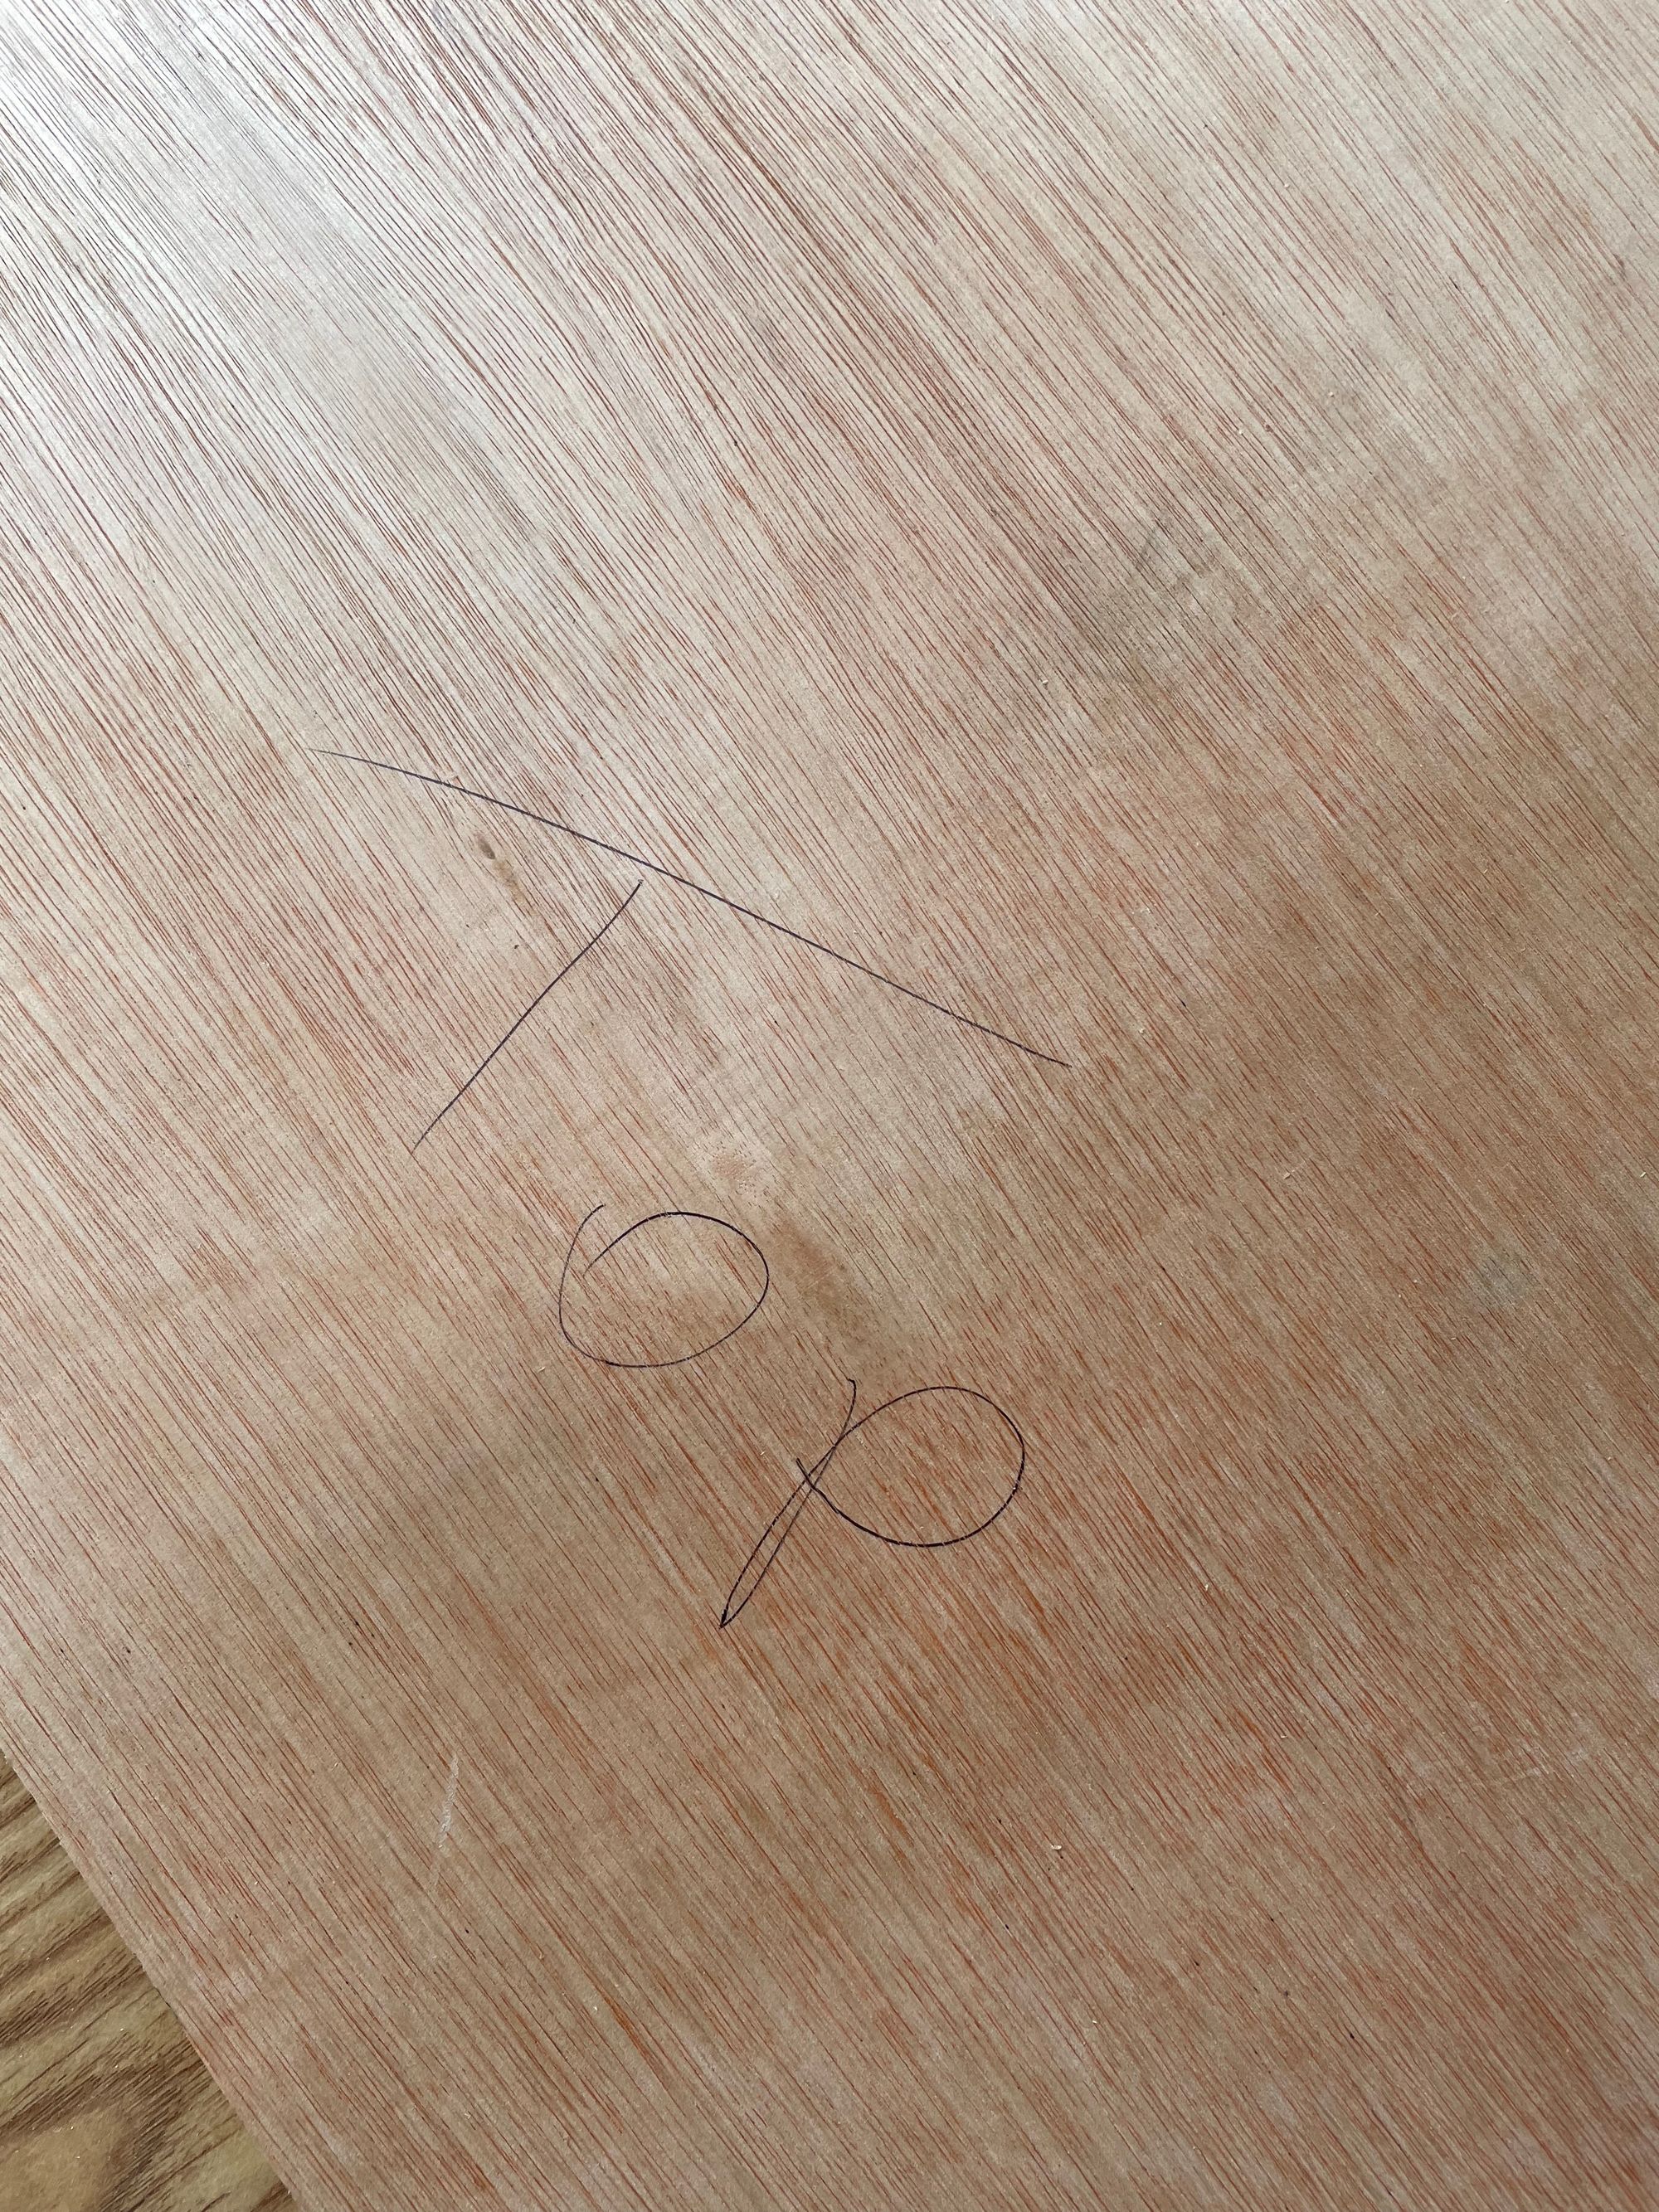
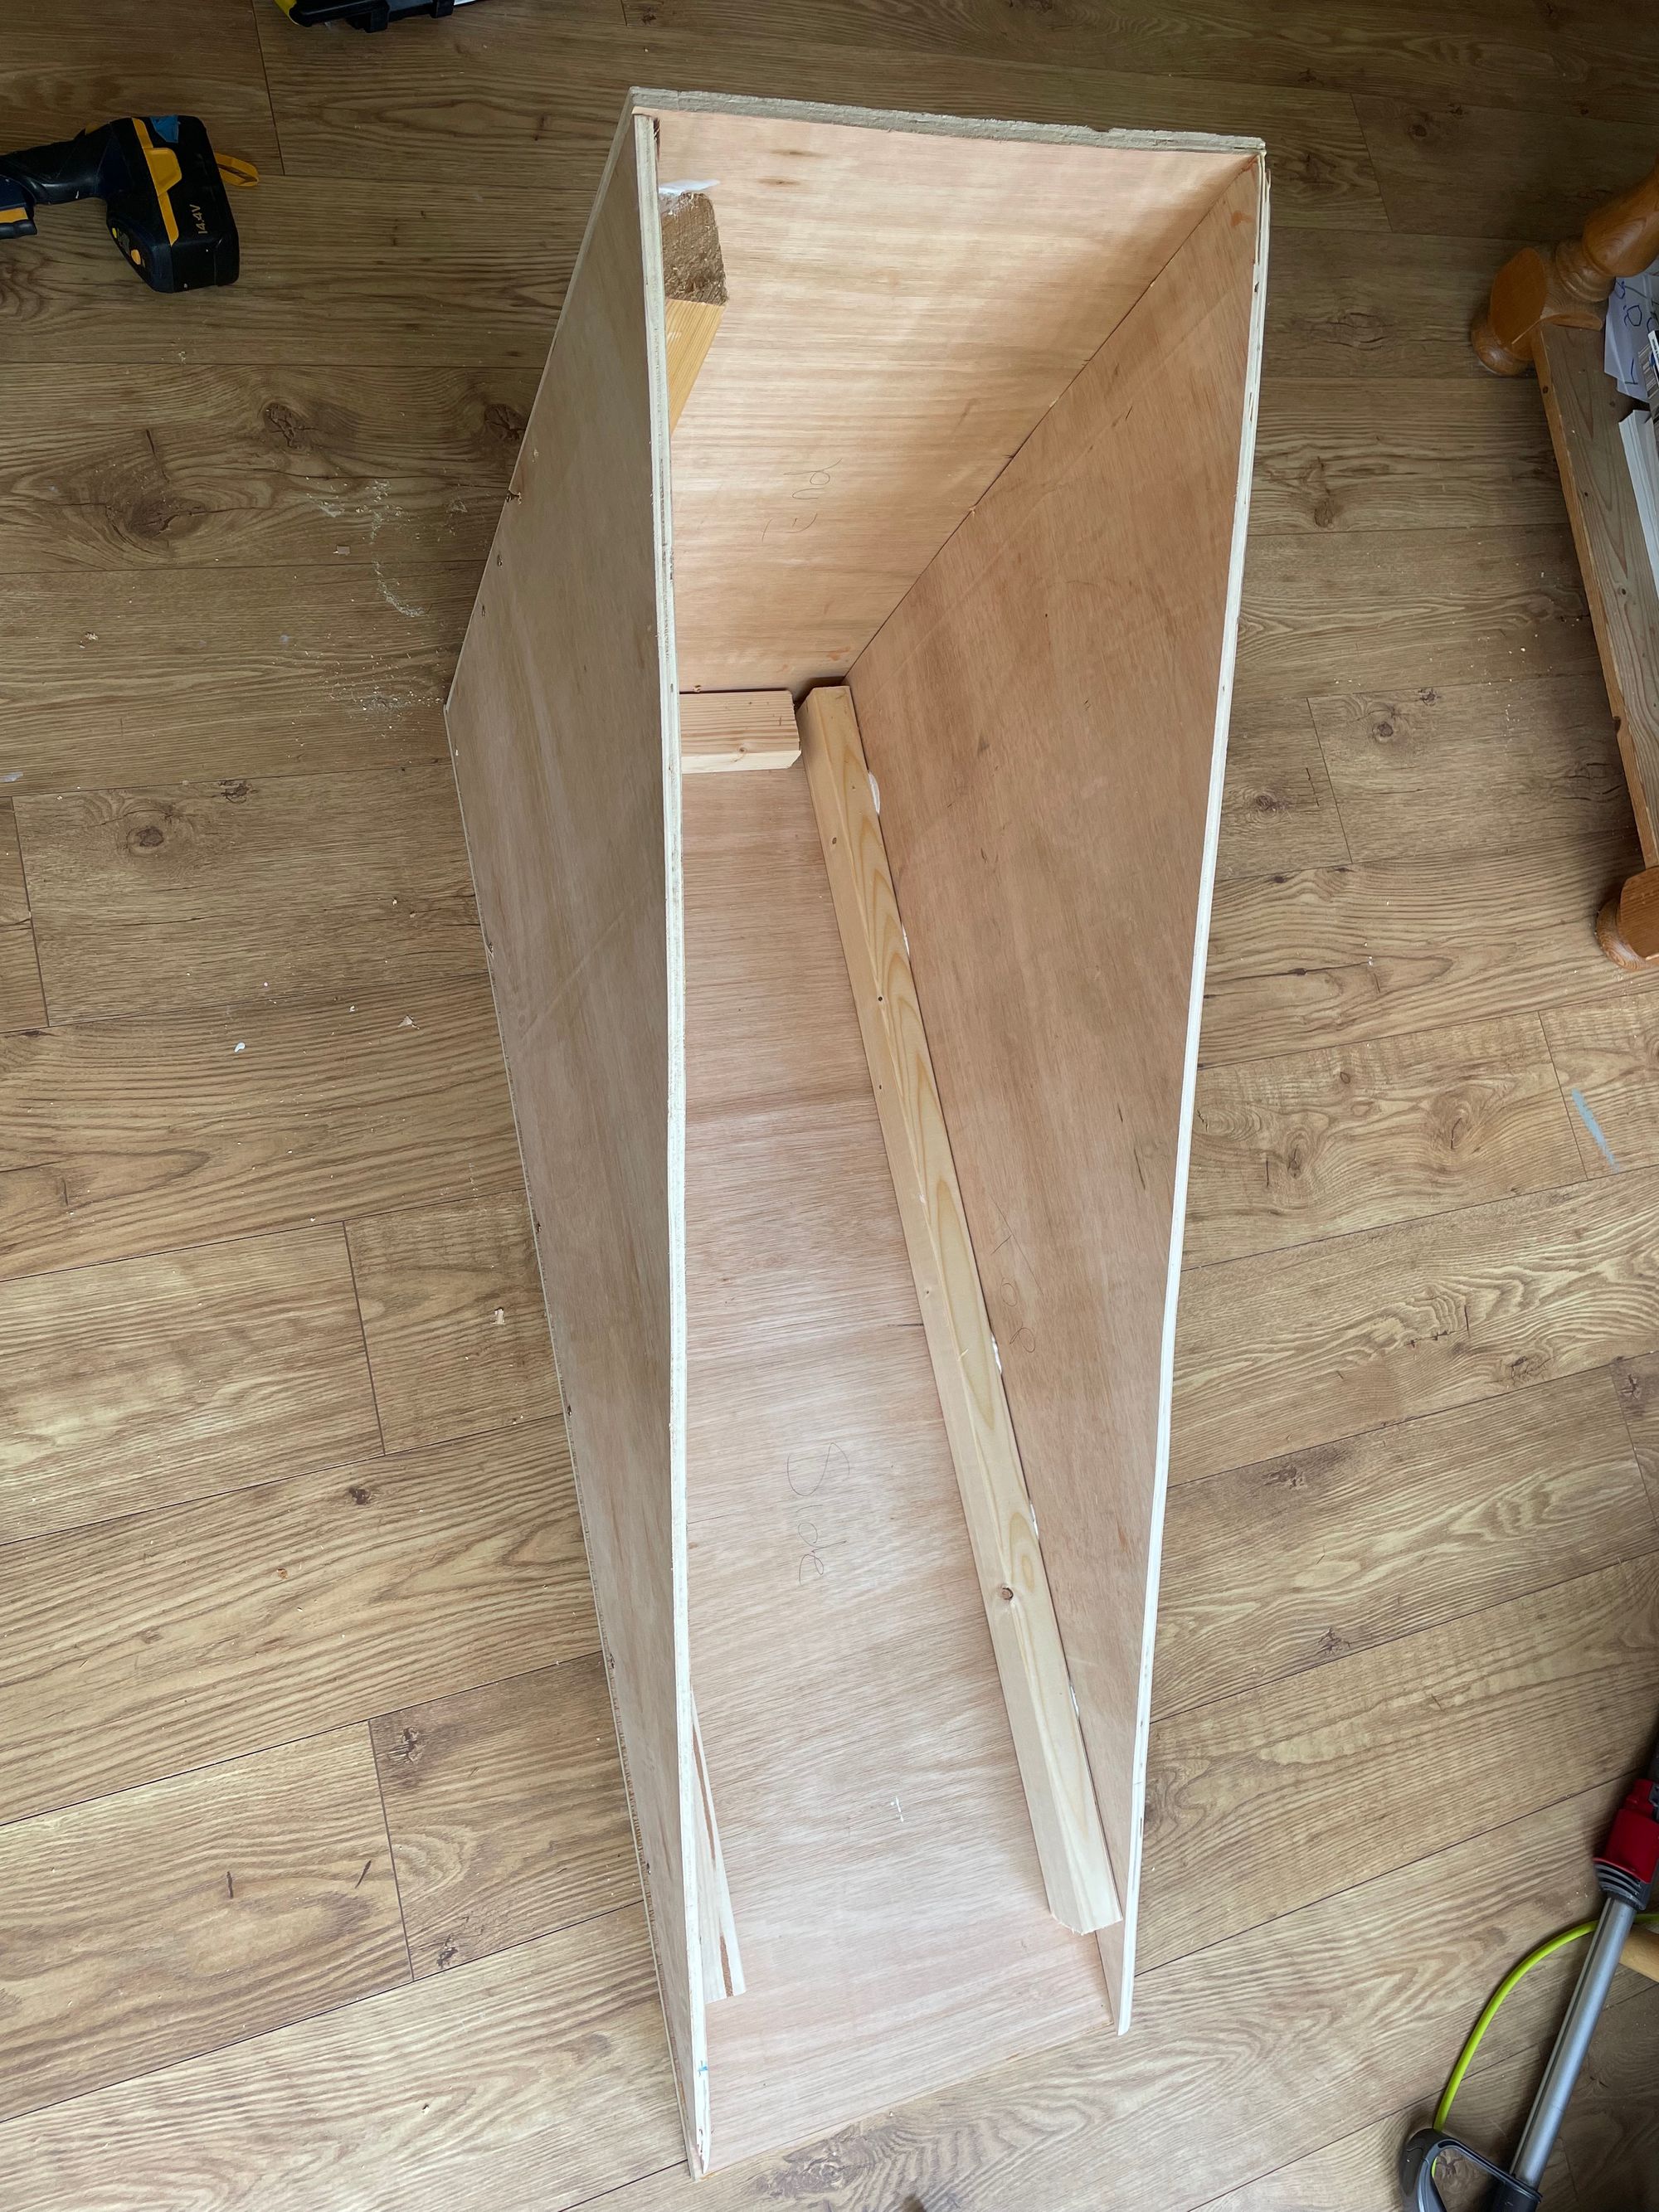
Start by making a cutting guide and labelling each piece of wood you cut. Sand the edges of the wood until they're smooth and neat. Use a jigsaw for longer pieces, and place a piece of masking tape over the line you need to cut to reduce the roughness of the edges. Lay out the pieces of wood in position to check if you have everything you need and if all the pieces fit together.
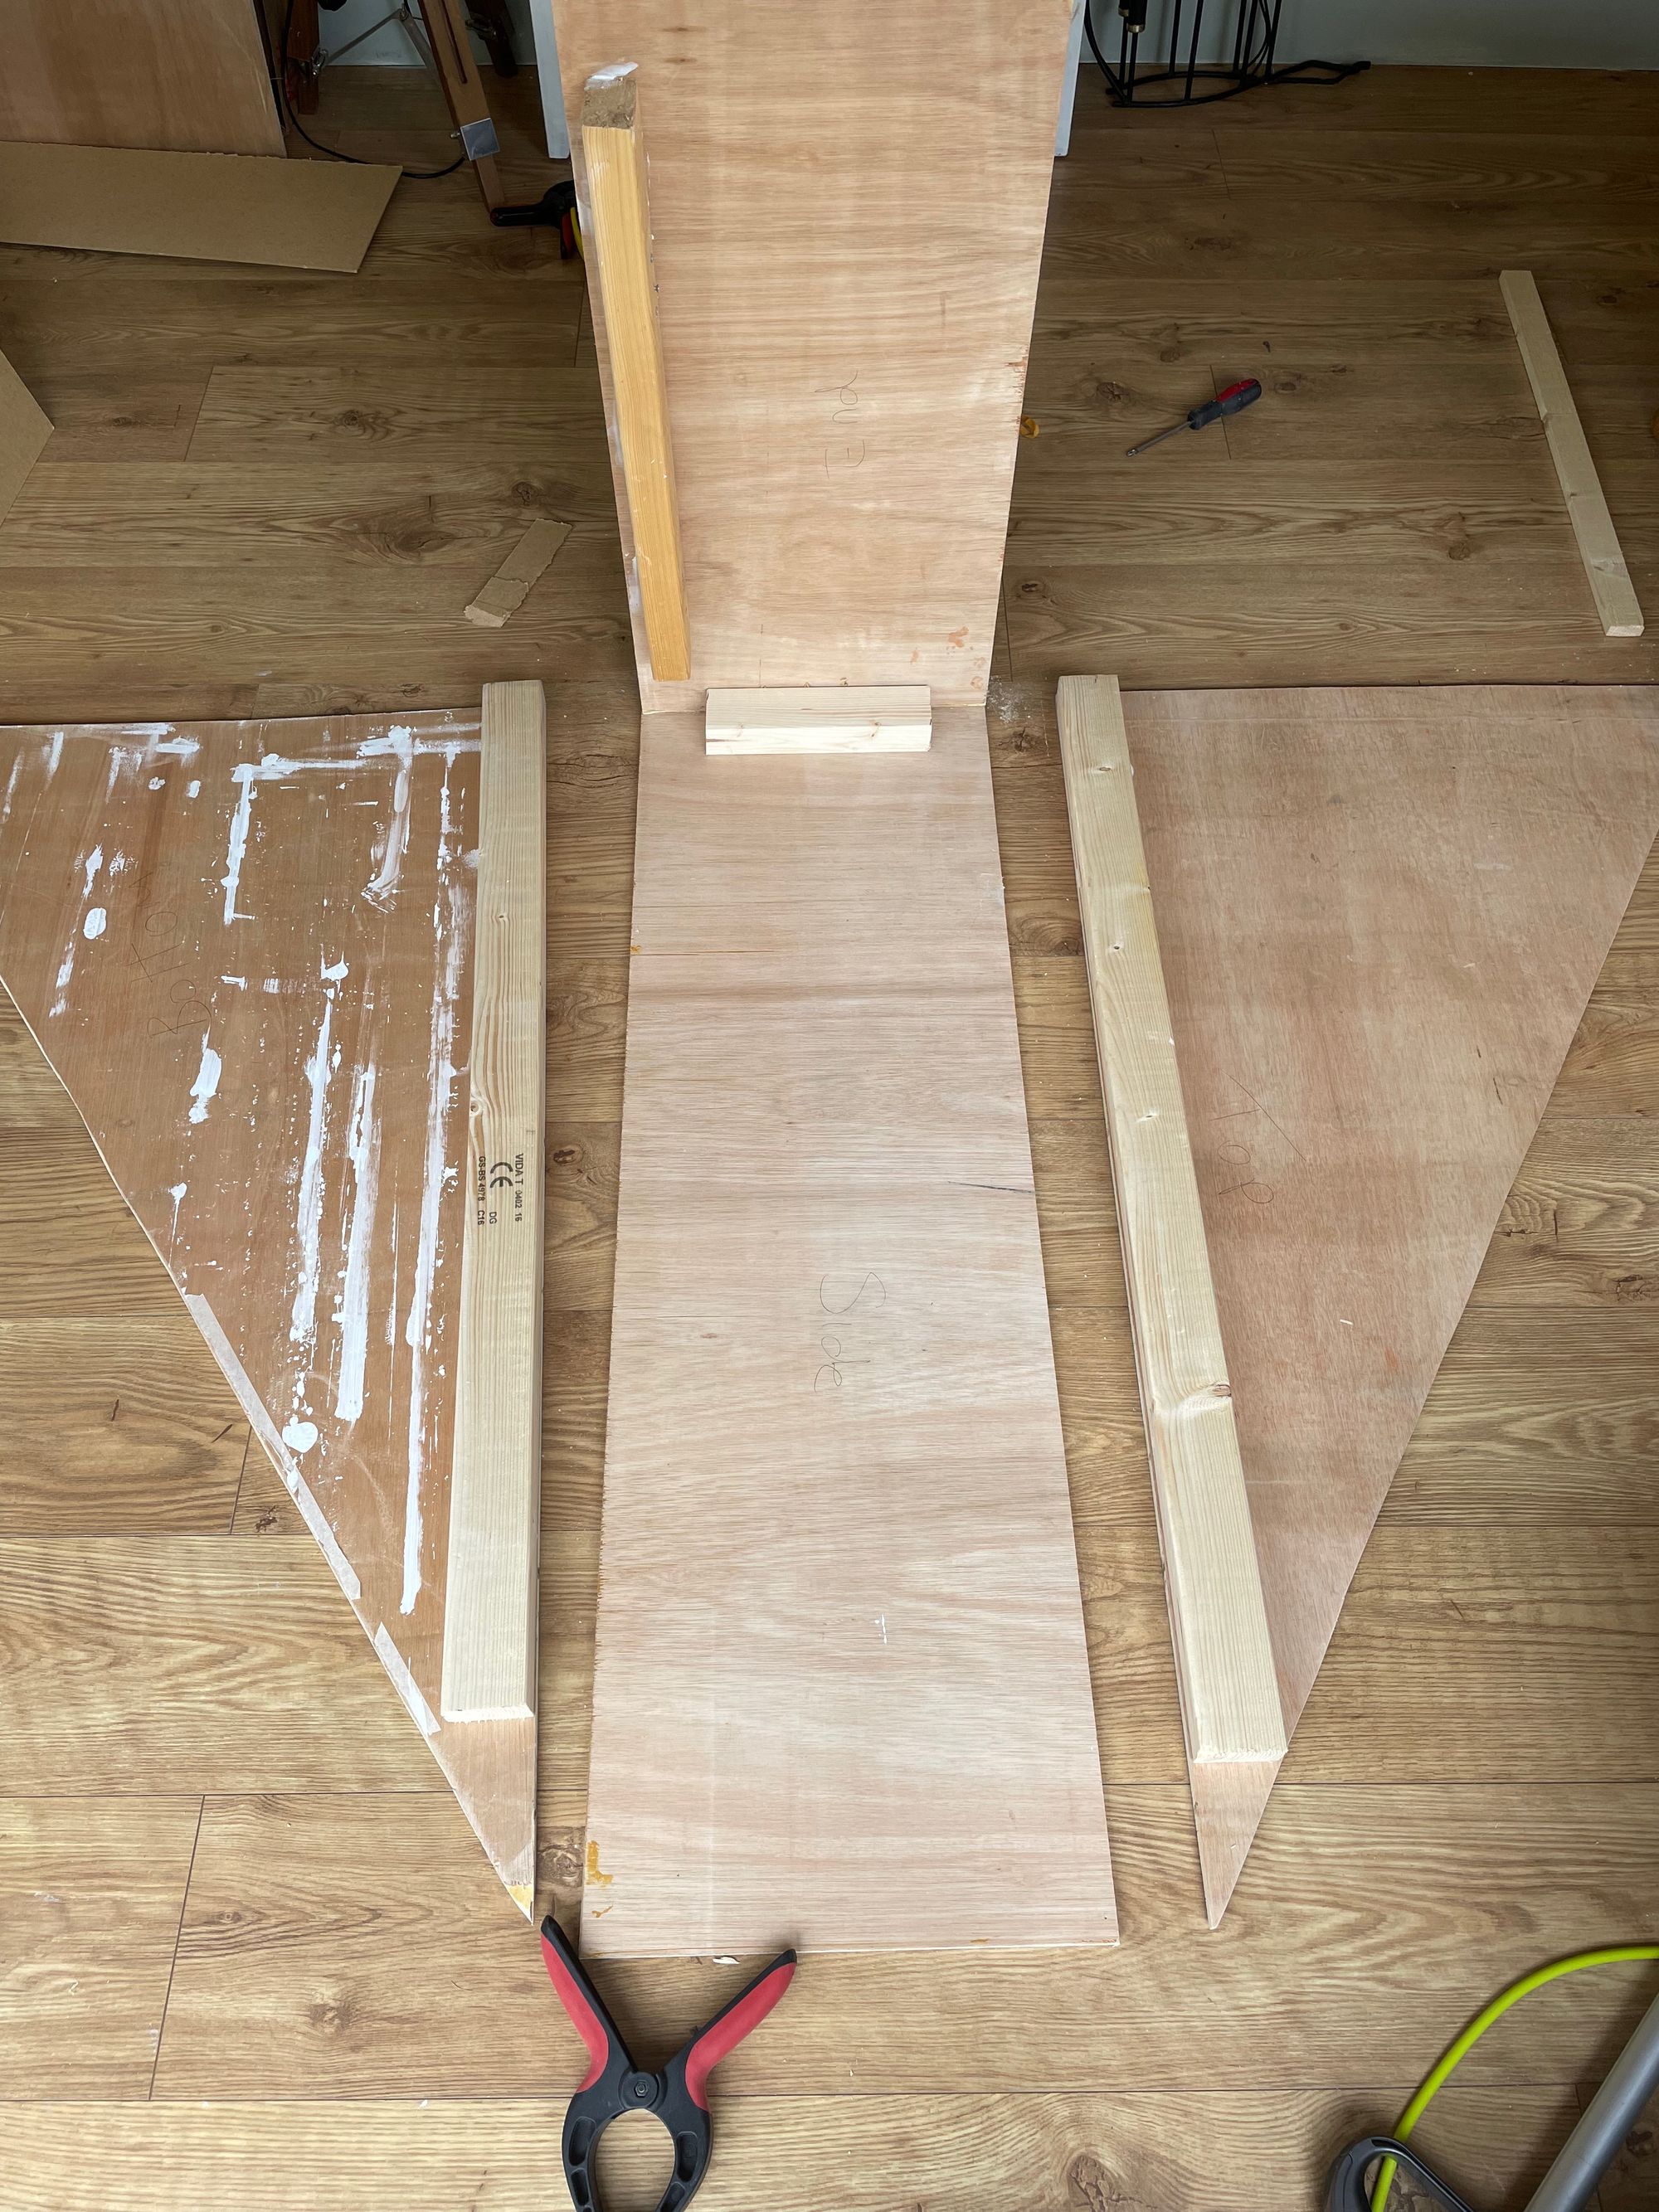
Attach a sturdy piece of constructional timber to the side of the main pieces using screws and glue to add extra stability. Screw the adjoining pieces into the timber supports starting with the right-angled side pieces and followed by the top and bottom triangles of the coffee table. Use small screws to attach the edges of the plywood together. Attach the longest side last, using grab adhesive and panel pins to attach it since it's much thinner than the rest of the structure and is made of flexible MDF.
Fill any imperfections around the edges of the coffee table and cover the screw heads. Give the entire coffee table a thin coat of interior smoother to create a high-quality base for the micro-cement. This will ensure the result looks like solid cement rather than something made from leftover bits of wood. Once dry, sand the coffee table to get super crisp edges and a smooth finish with no visible joins or screw heads.
Step 3: Apply the Micro-cement
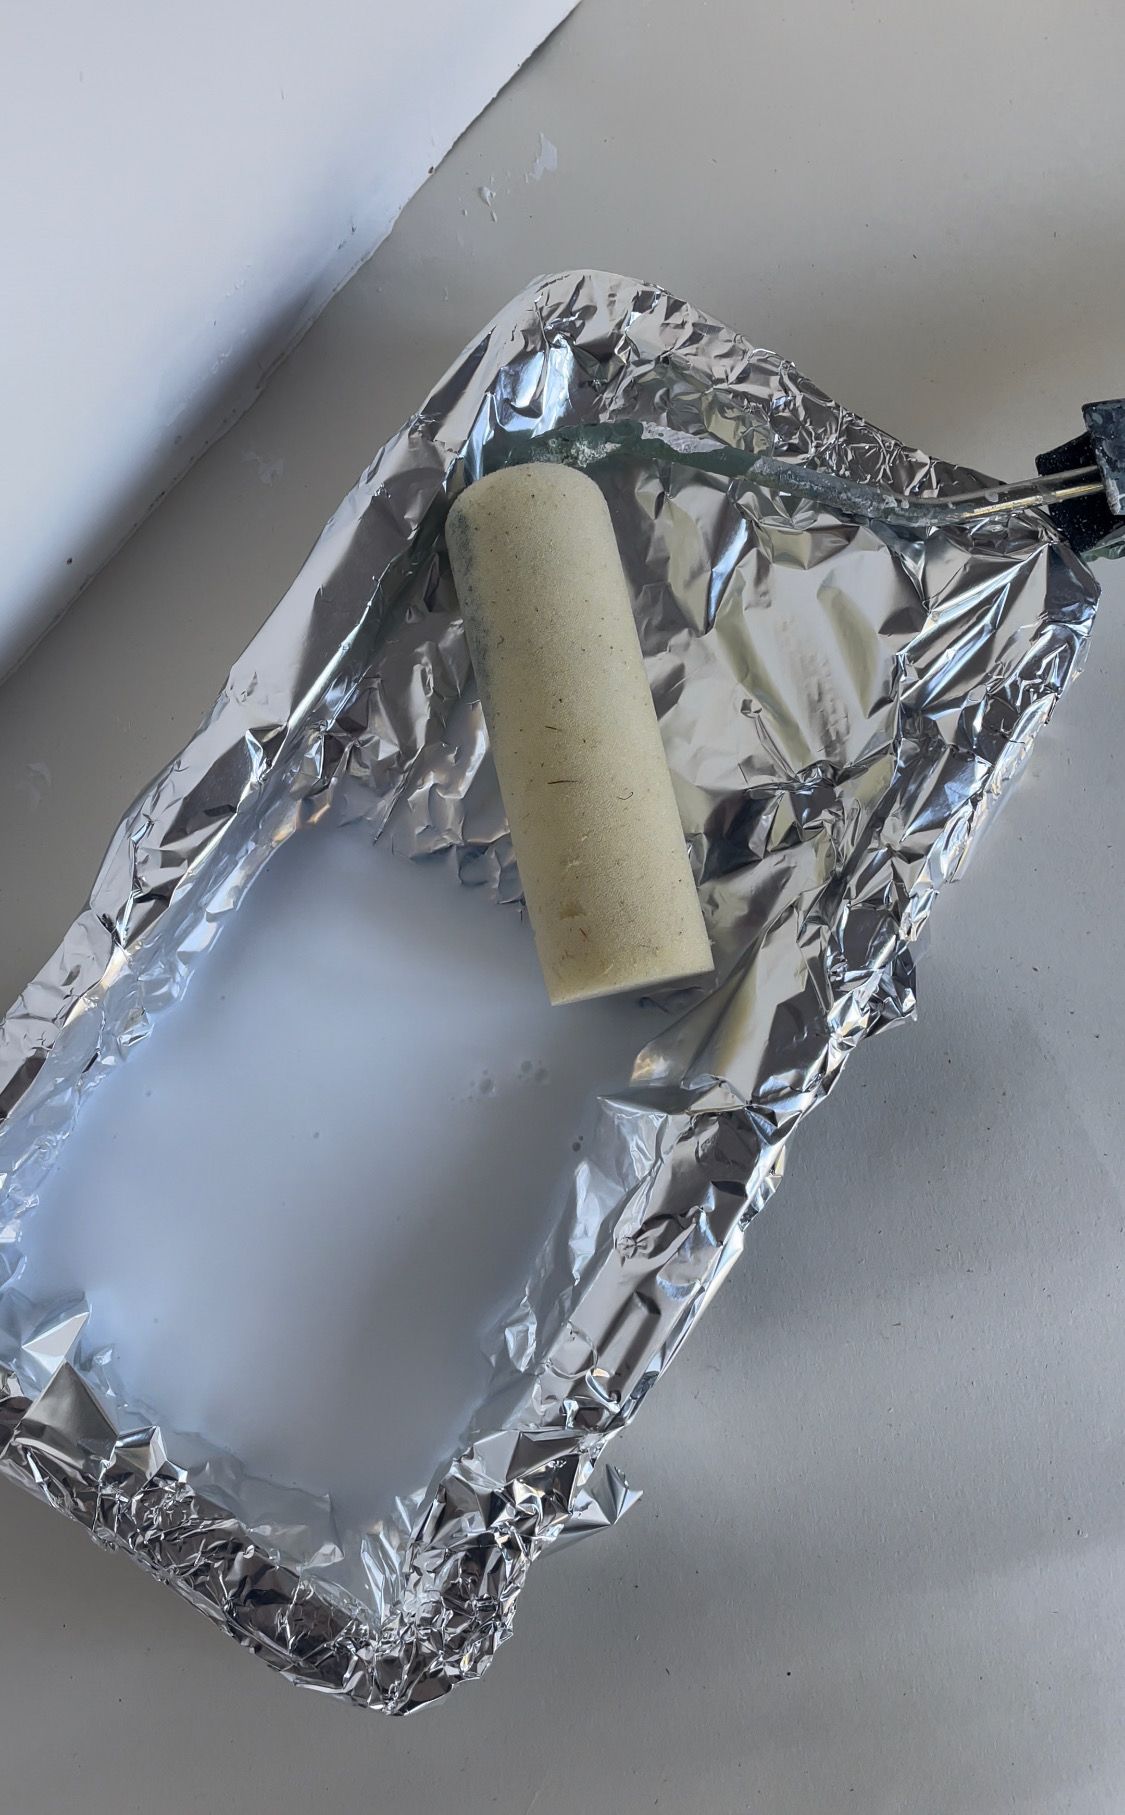
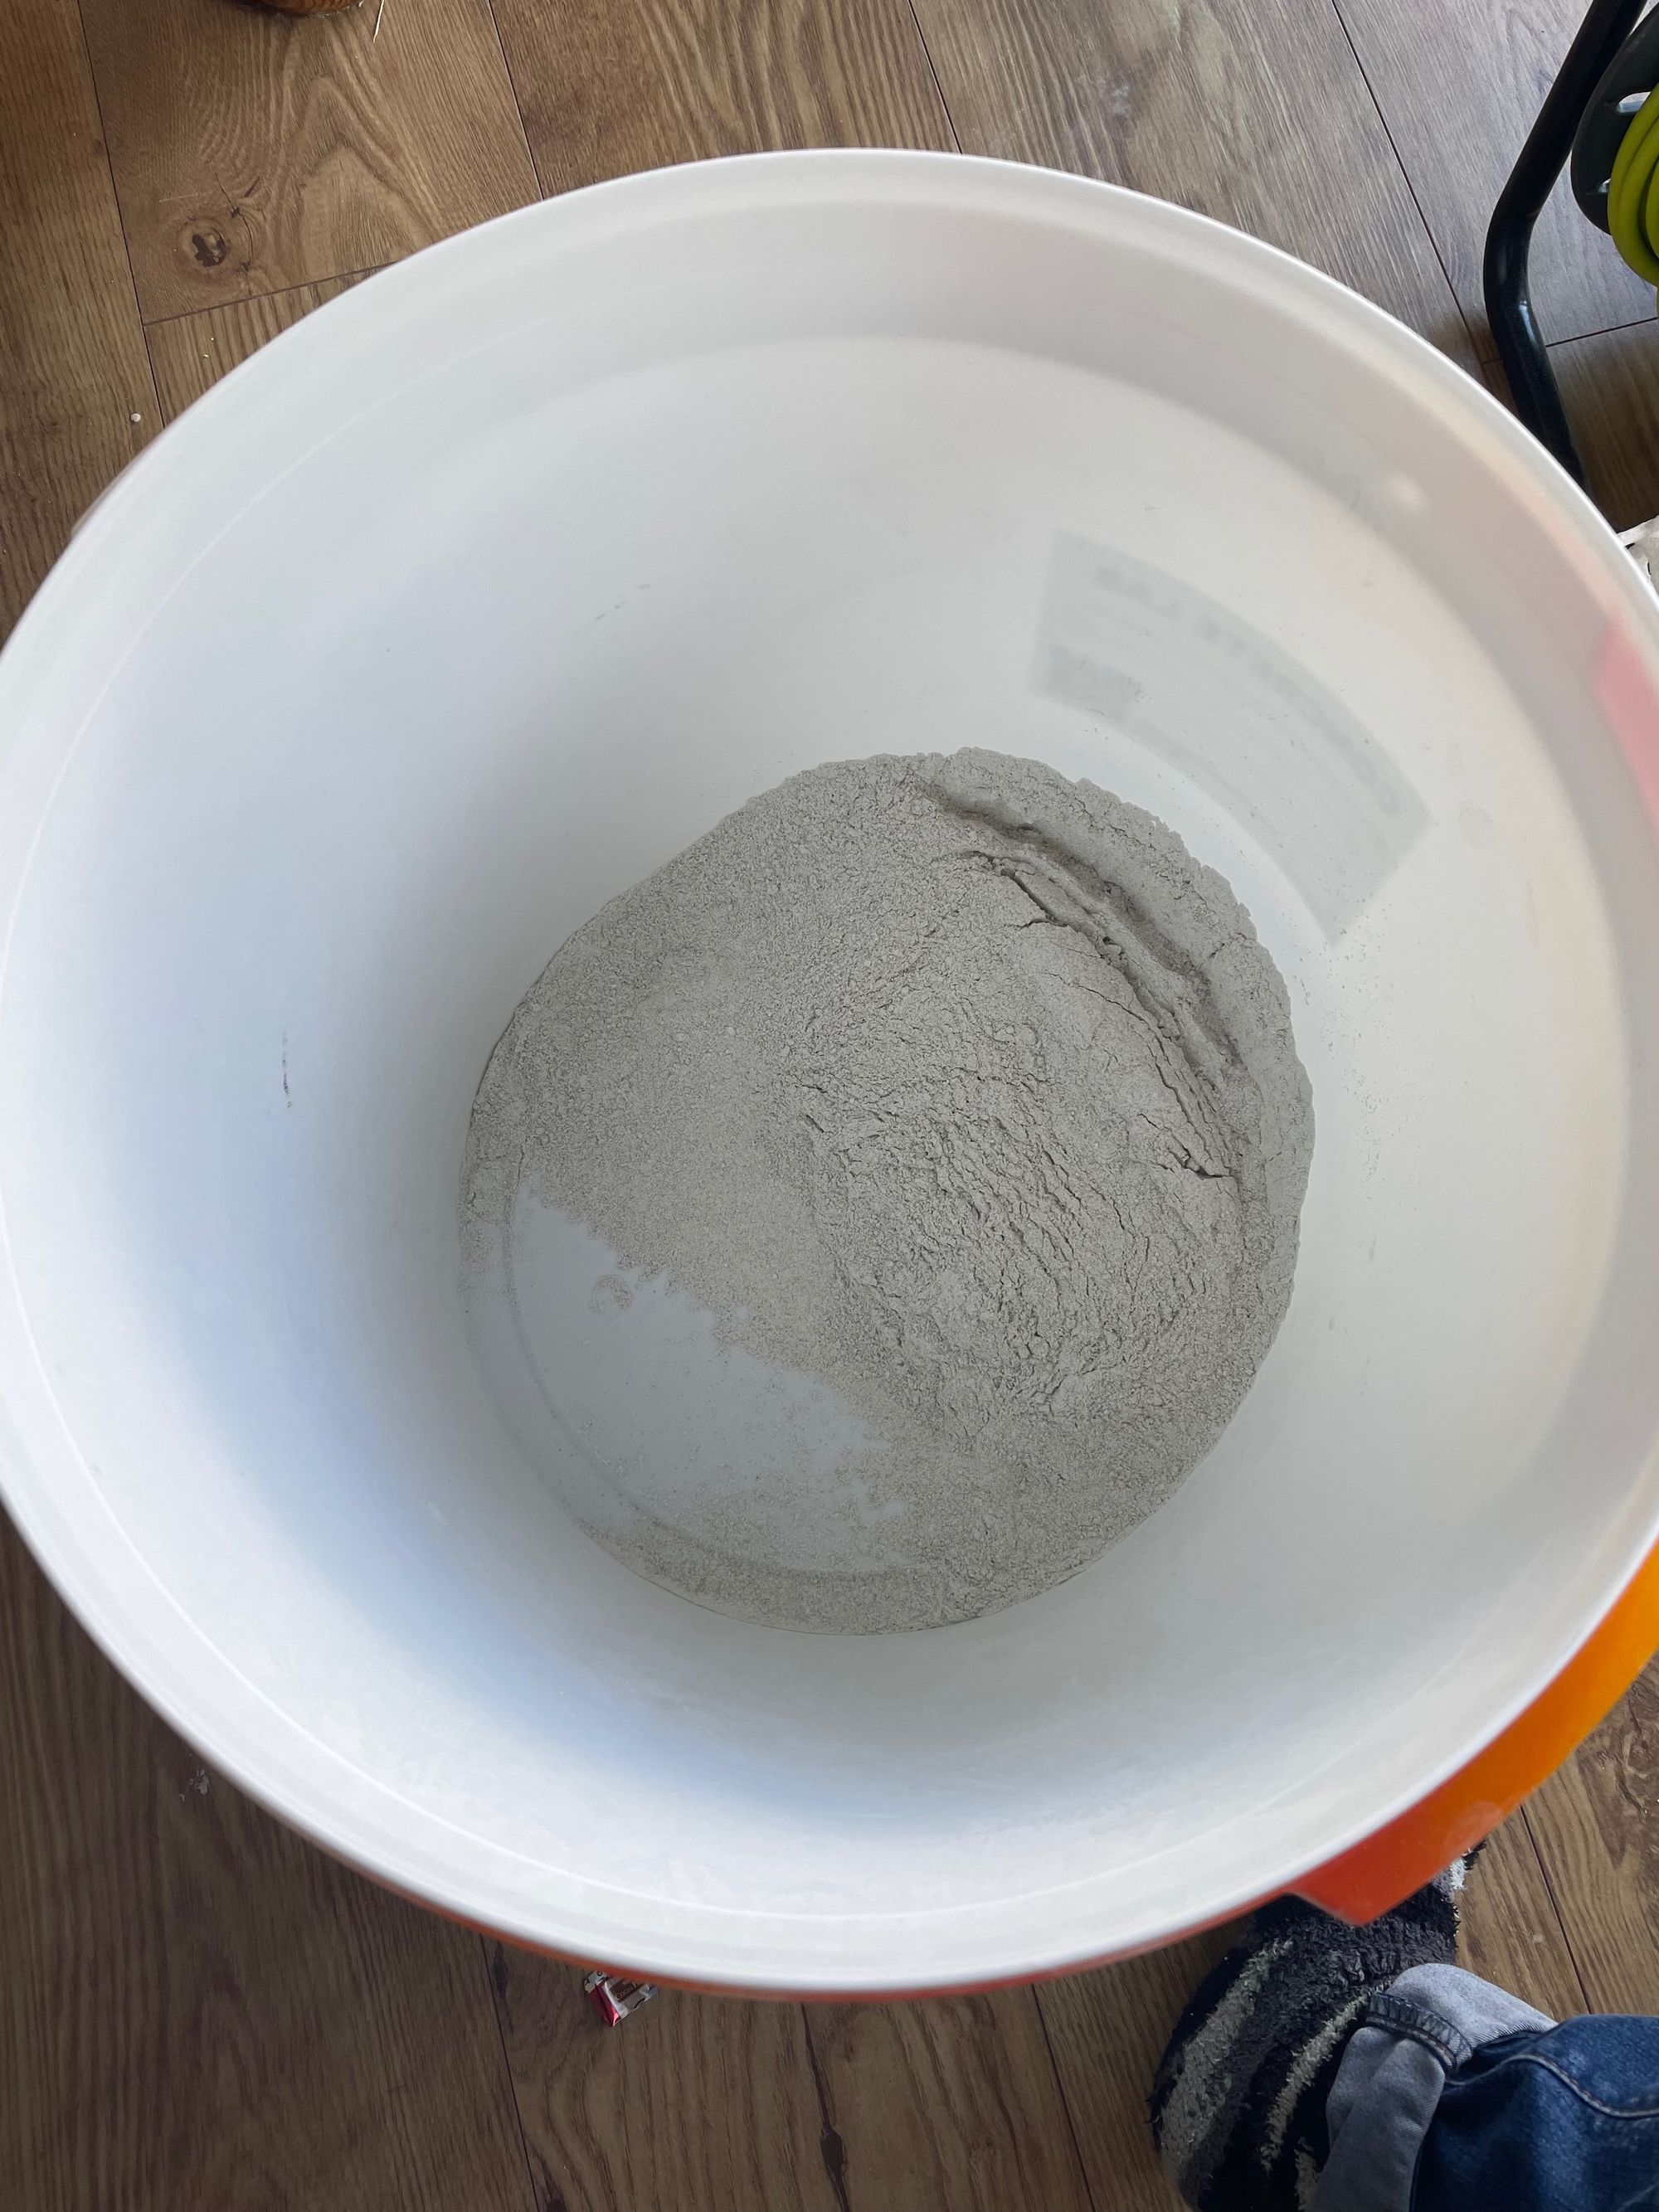
Use an off-white polished concrete micro-cement kit from concretelab.co.uk or any brand of your choice. Priming the base material is crucial to ensure the micro-cement adheres well. Pour the primer into a roller tray and use a sponge roller to apply a generous coat to the coffee table. Leave the primer to go tacky for approximately 30 minutes.
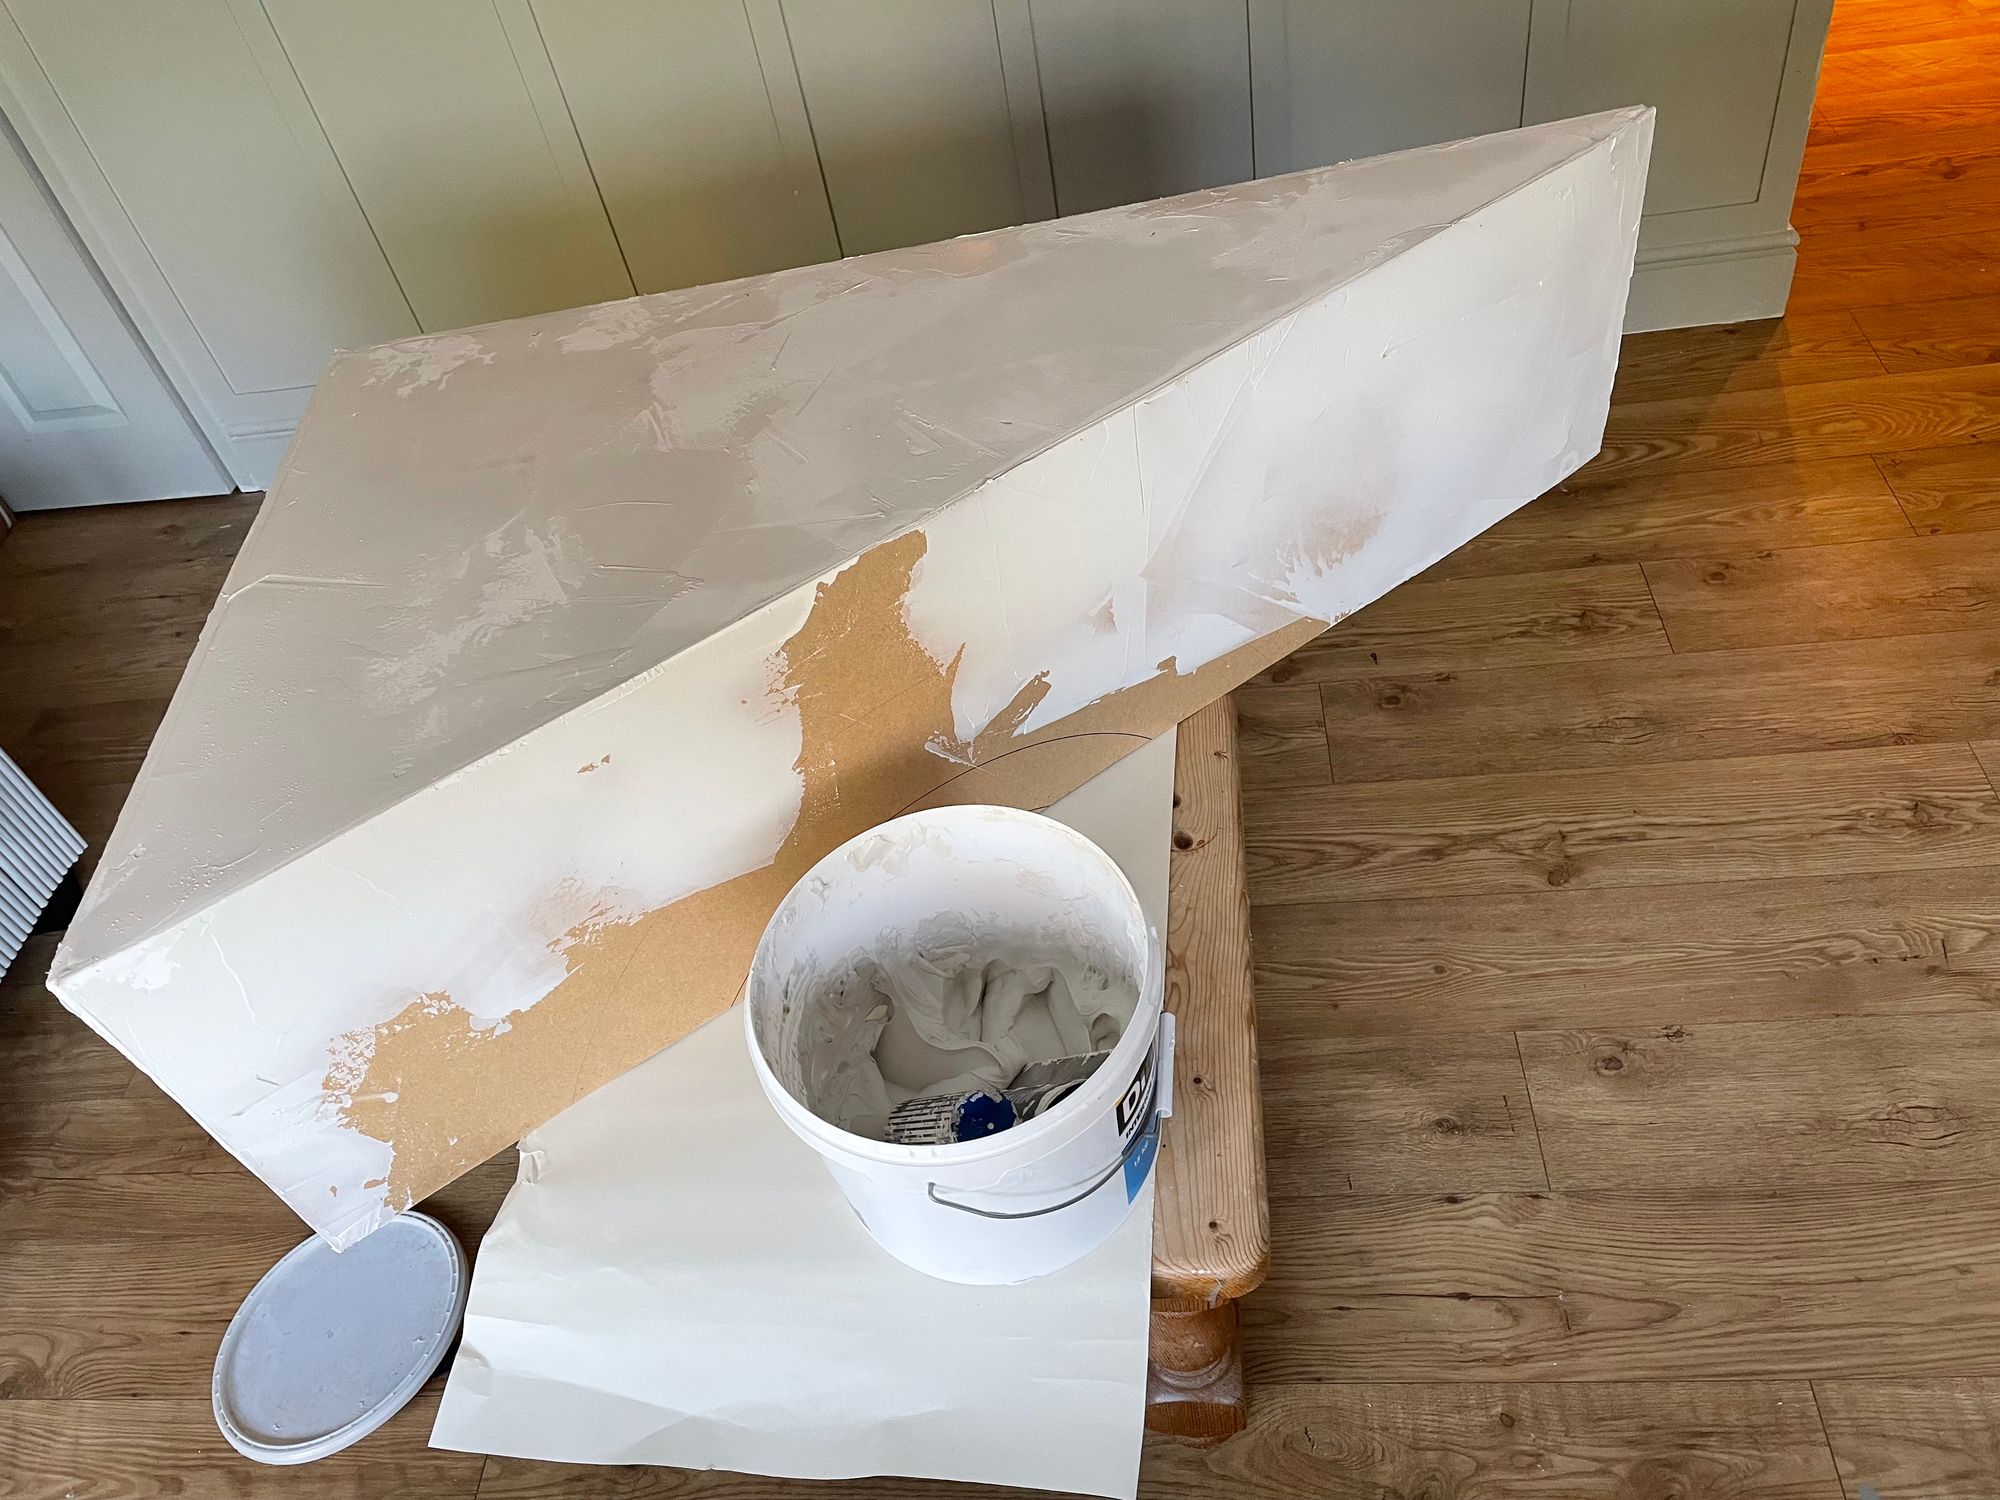
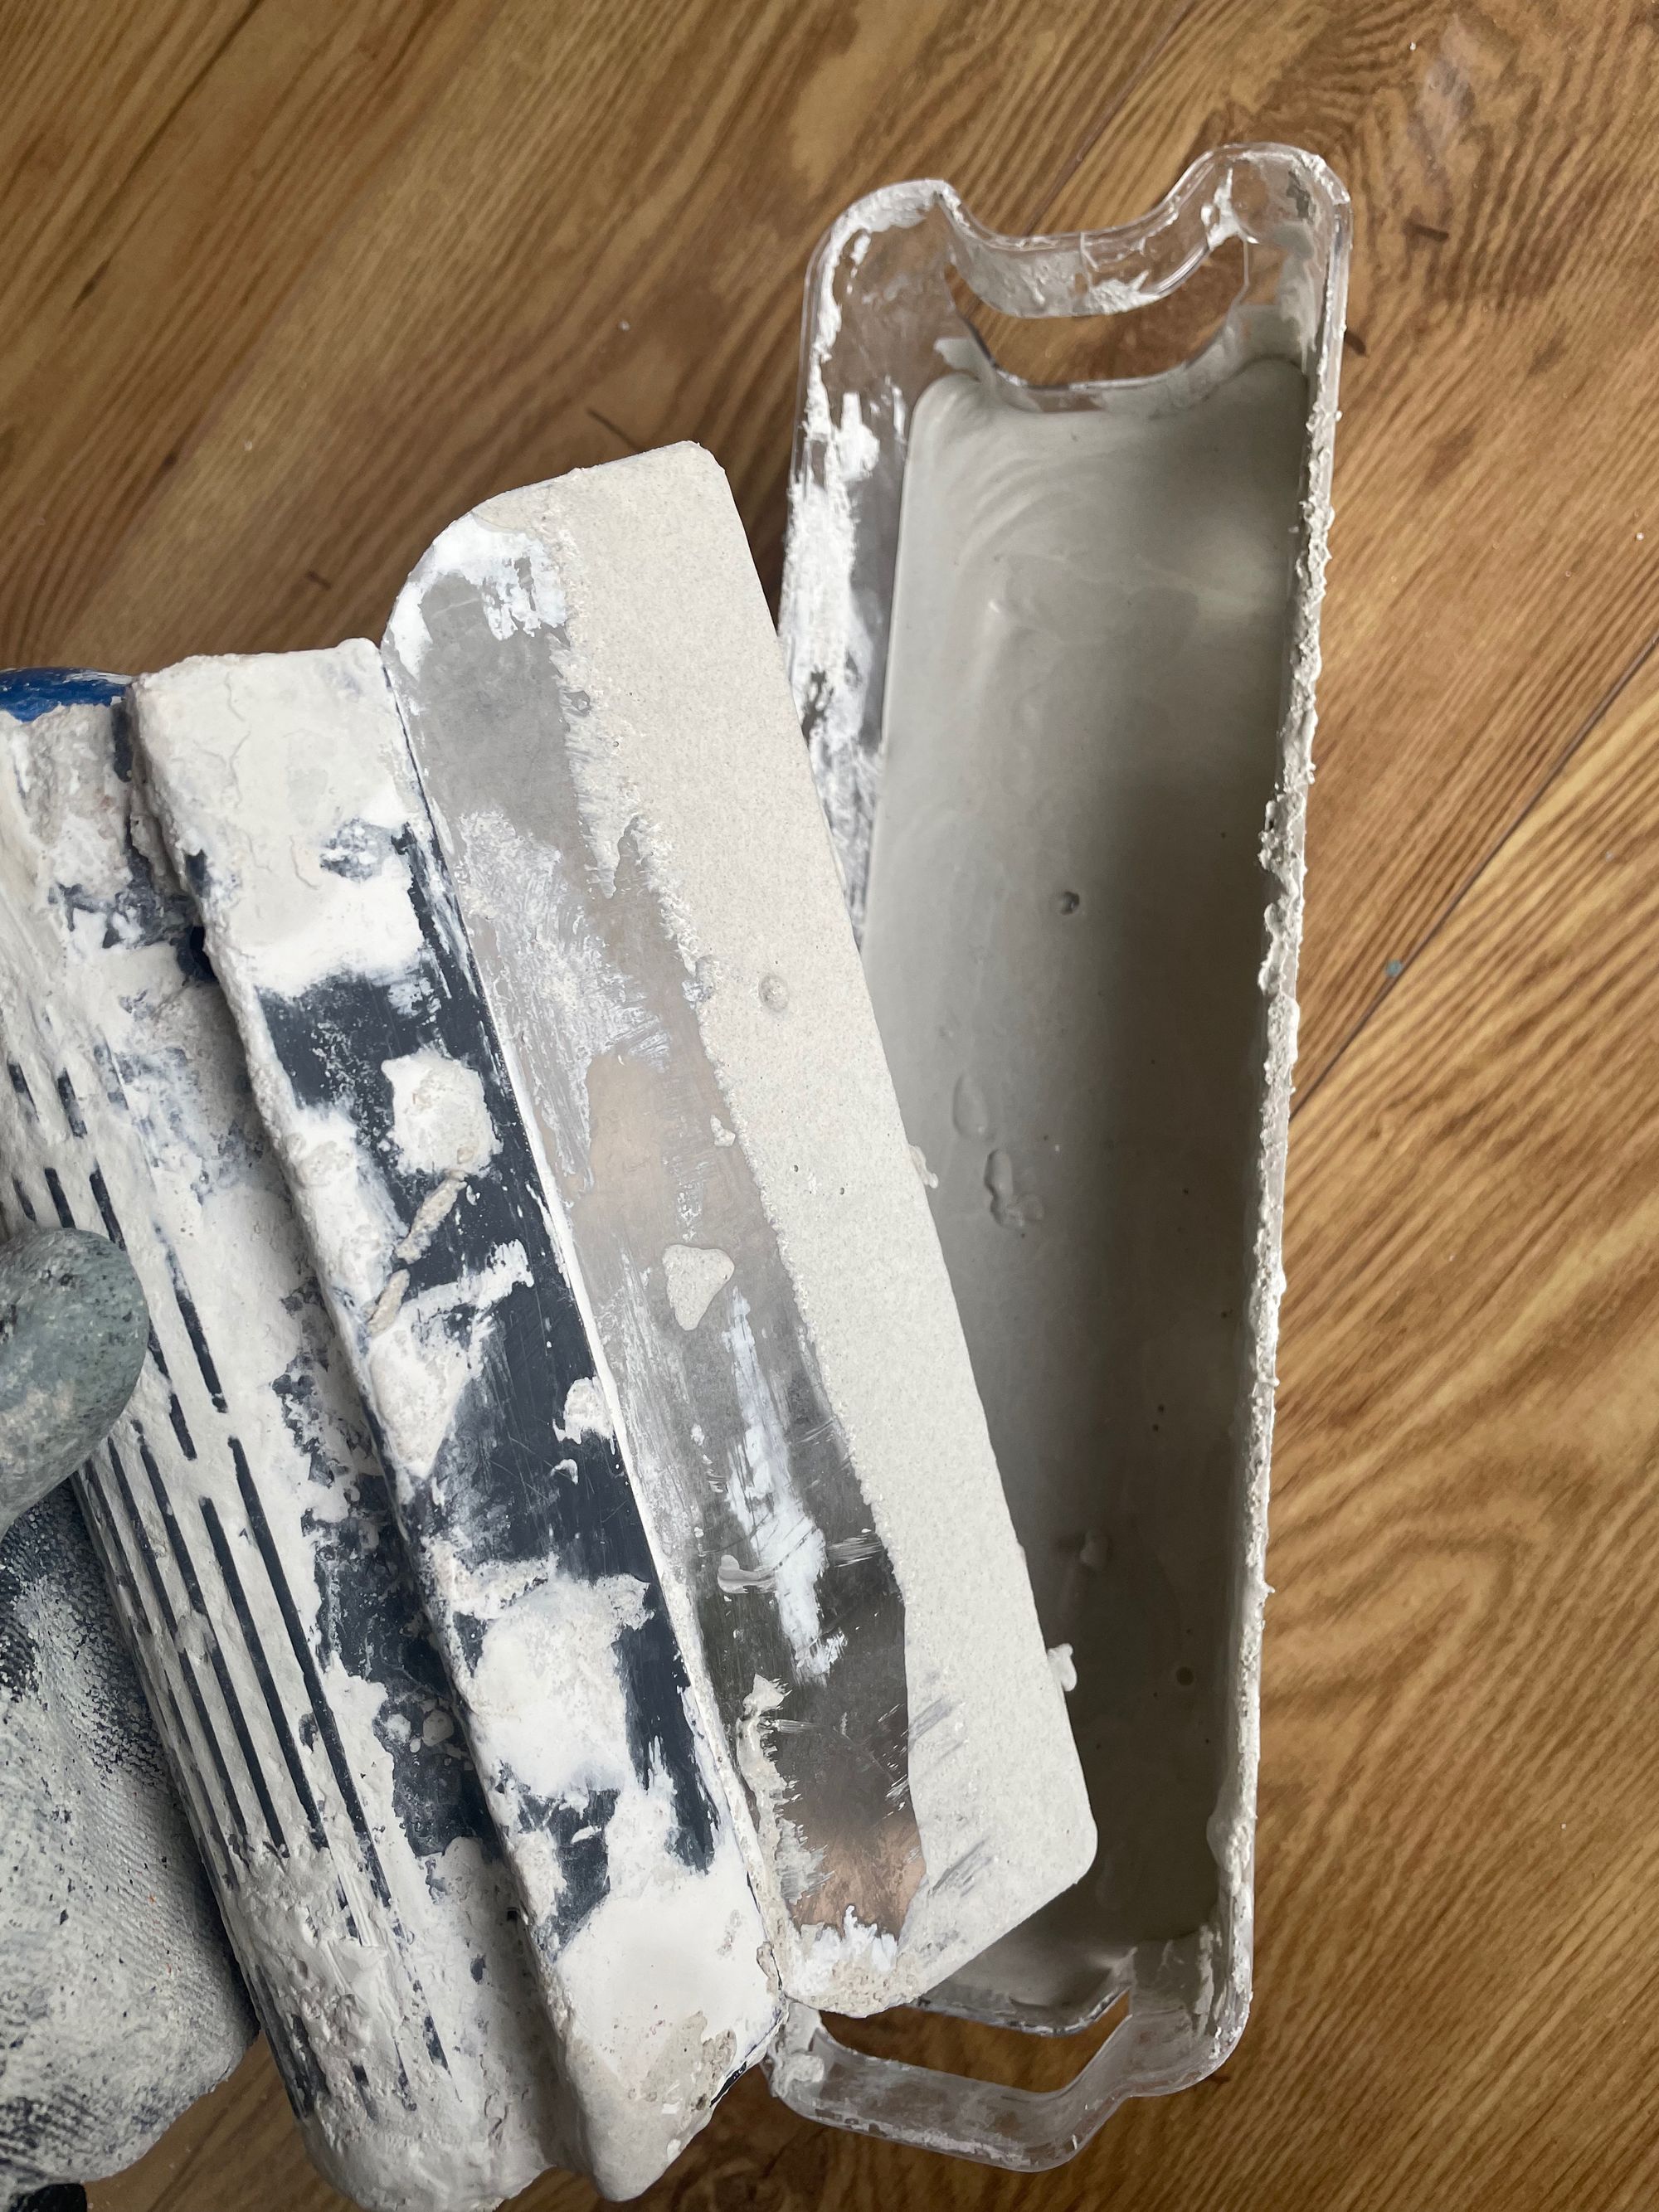
Mix up the first coat of micro-cement according to the instructions on the kit. Pour the mixture into a small, manageable container that makes loading up the spreader easier. Cover the coffee table with the first layer of micro-cement using the spreader to achieve a smoother surface. Apply the mixture thinly, 1-2mm is fine. Start on the top and work downwards to avoid dripping the mixture onto areas you have already covered.
Allow the micro-cement to dry before applying the second coat. Follow the instructions on the kit to ensure the best results. Once dry, sand the coffee table again, and it's ready to use!
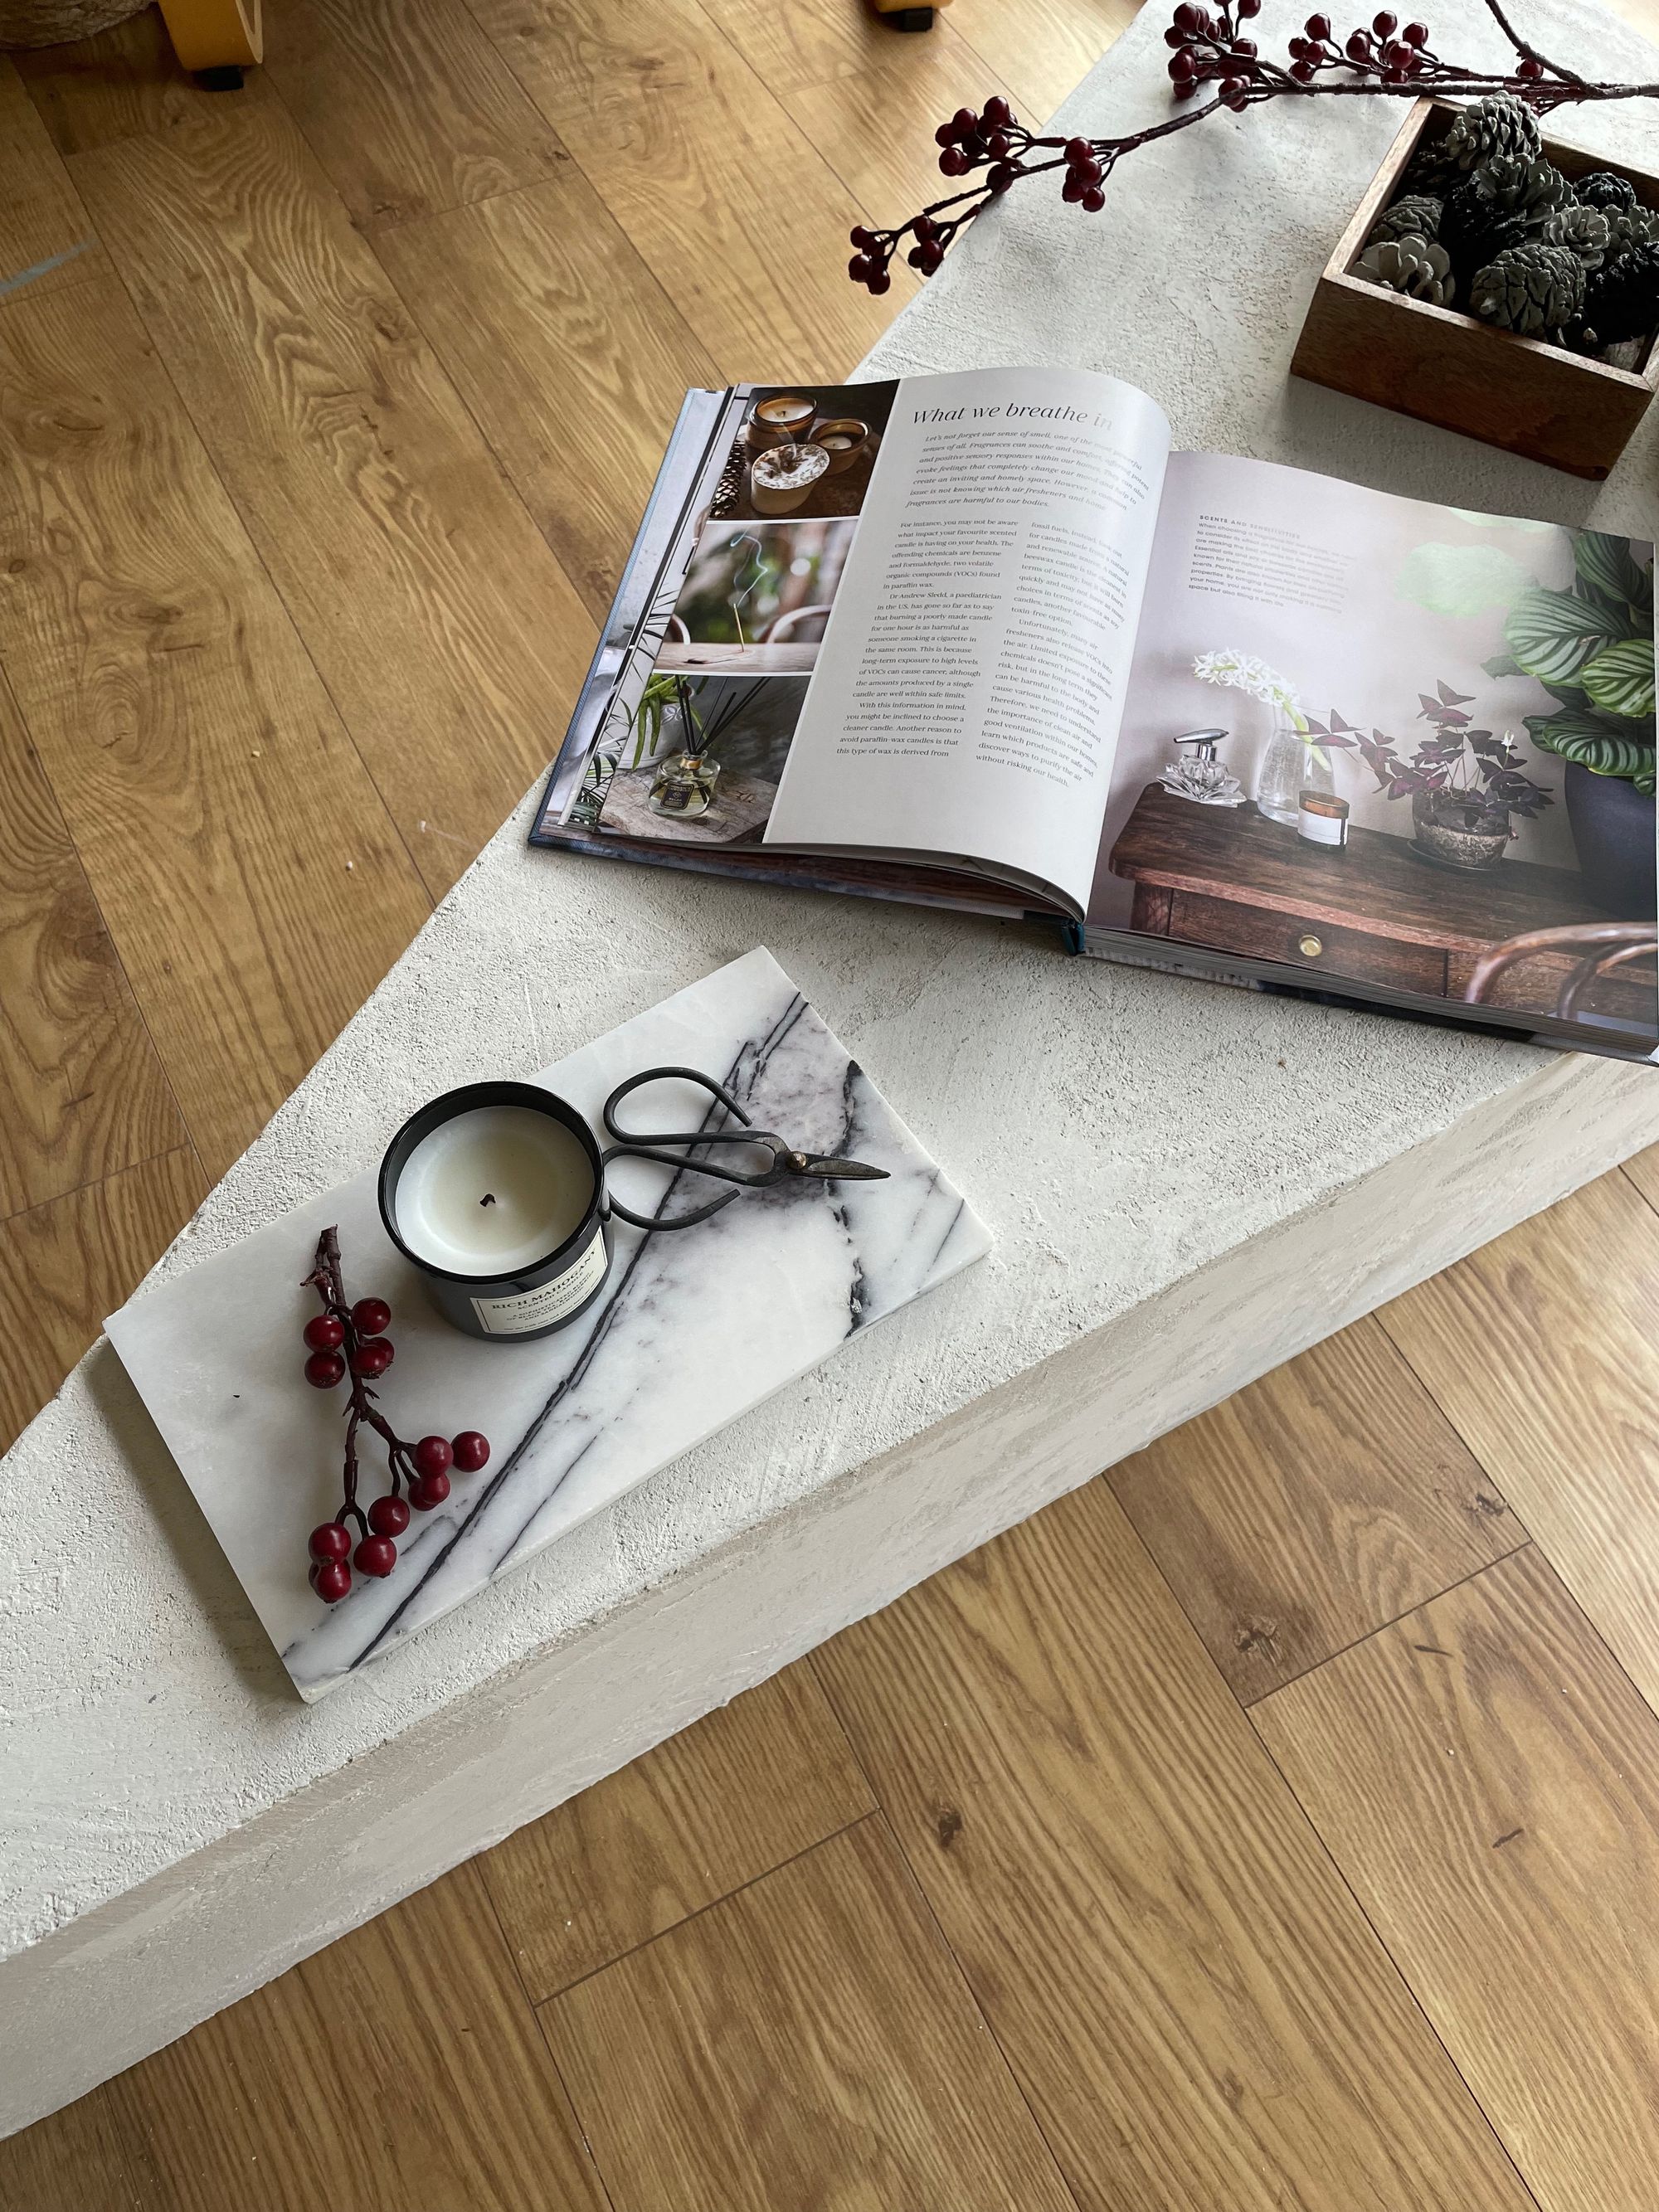
Building a micro-cement coffee table is a DIY project that can add a unique and stylish touch to your living room. The end result is a beautiful and textured surface that resembles solid cement. With a little bit of creativity and effort, you can create a one-of-a-kind coffee table that will be a statement piece in your home.


Materials Needed:
- Plywood or any wood of your choice
- Jigsaw
- Screws and glue
- Constructional timber
- Grab adhesive
- Panel pins
- Countersink drill bit (optional)
- Interior smoother
- Micro-cement kit (we recommend an off-white polished concrete micro-cement kit from concretelab.co.uk)
- Sponge roller
- Spreader
CREATOR: Claire

Instagram: @clairedouglasstyling


