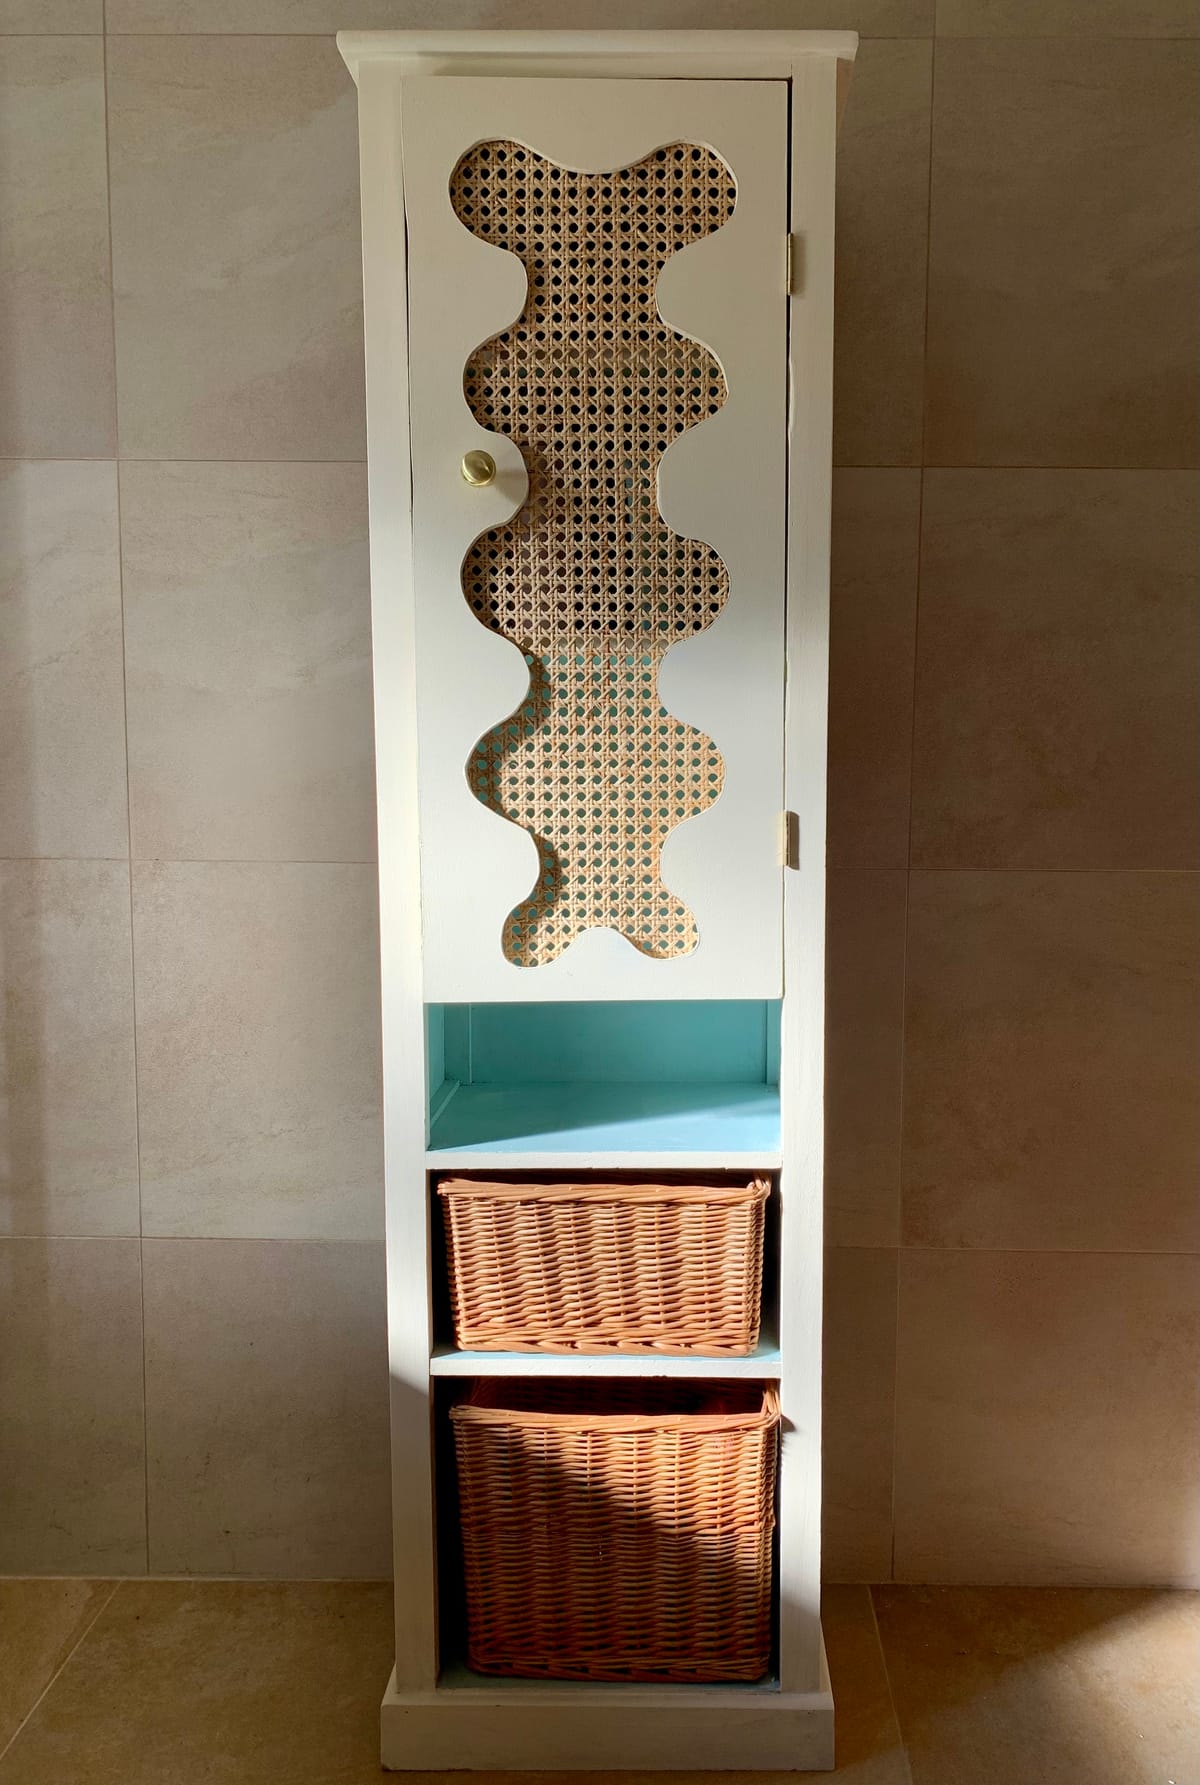
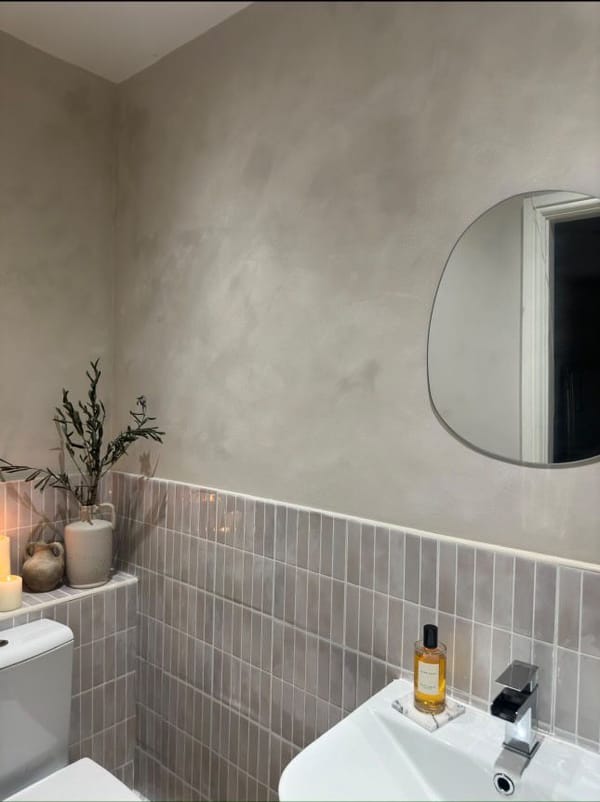
If you are a fan of the wiggle shape, this DIY is made for you!
The best form of DIY has to be when you take something from ready to go to the tip to something you love to look at! This was the case with our bathroom cabinet which needed a new lease of life.
I love using colour in my home so I kept the outside plain and then painted the inside with a pop of blue to add some interest to the bathroom.
Let’s make a new door!
Materials and Tools:
- Jigsaw - from B&Q for £27
- 9mm MDF - from B&Q for £10.97 (If I did this again I would use a slightly thickened MDF as the brackets would then have been easier to fit.)
- a cup - from the cupboard!
- pencil & rubber
- paint of choice - I used a different colour on the inside to add interest - these were both from the GoodHome range of wood paints from B&Q
- drill & drill bit
- ruler
- wood glue
- clamps
- workbench
- sandpaper (make sure suitable for mdf)
- mask & eye protection
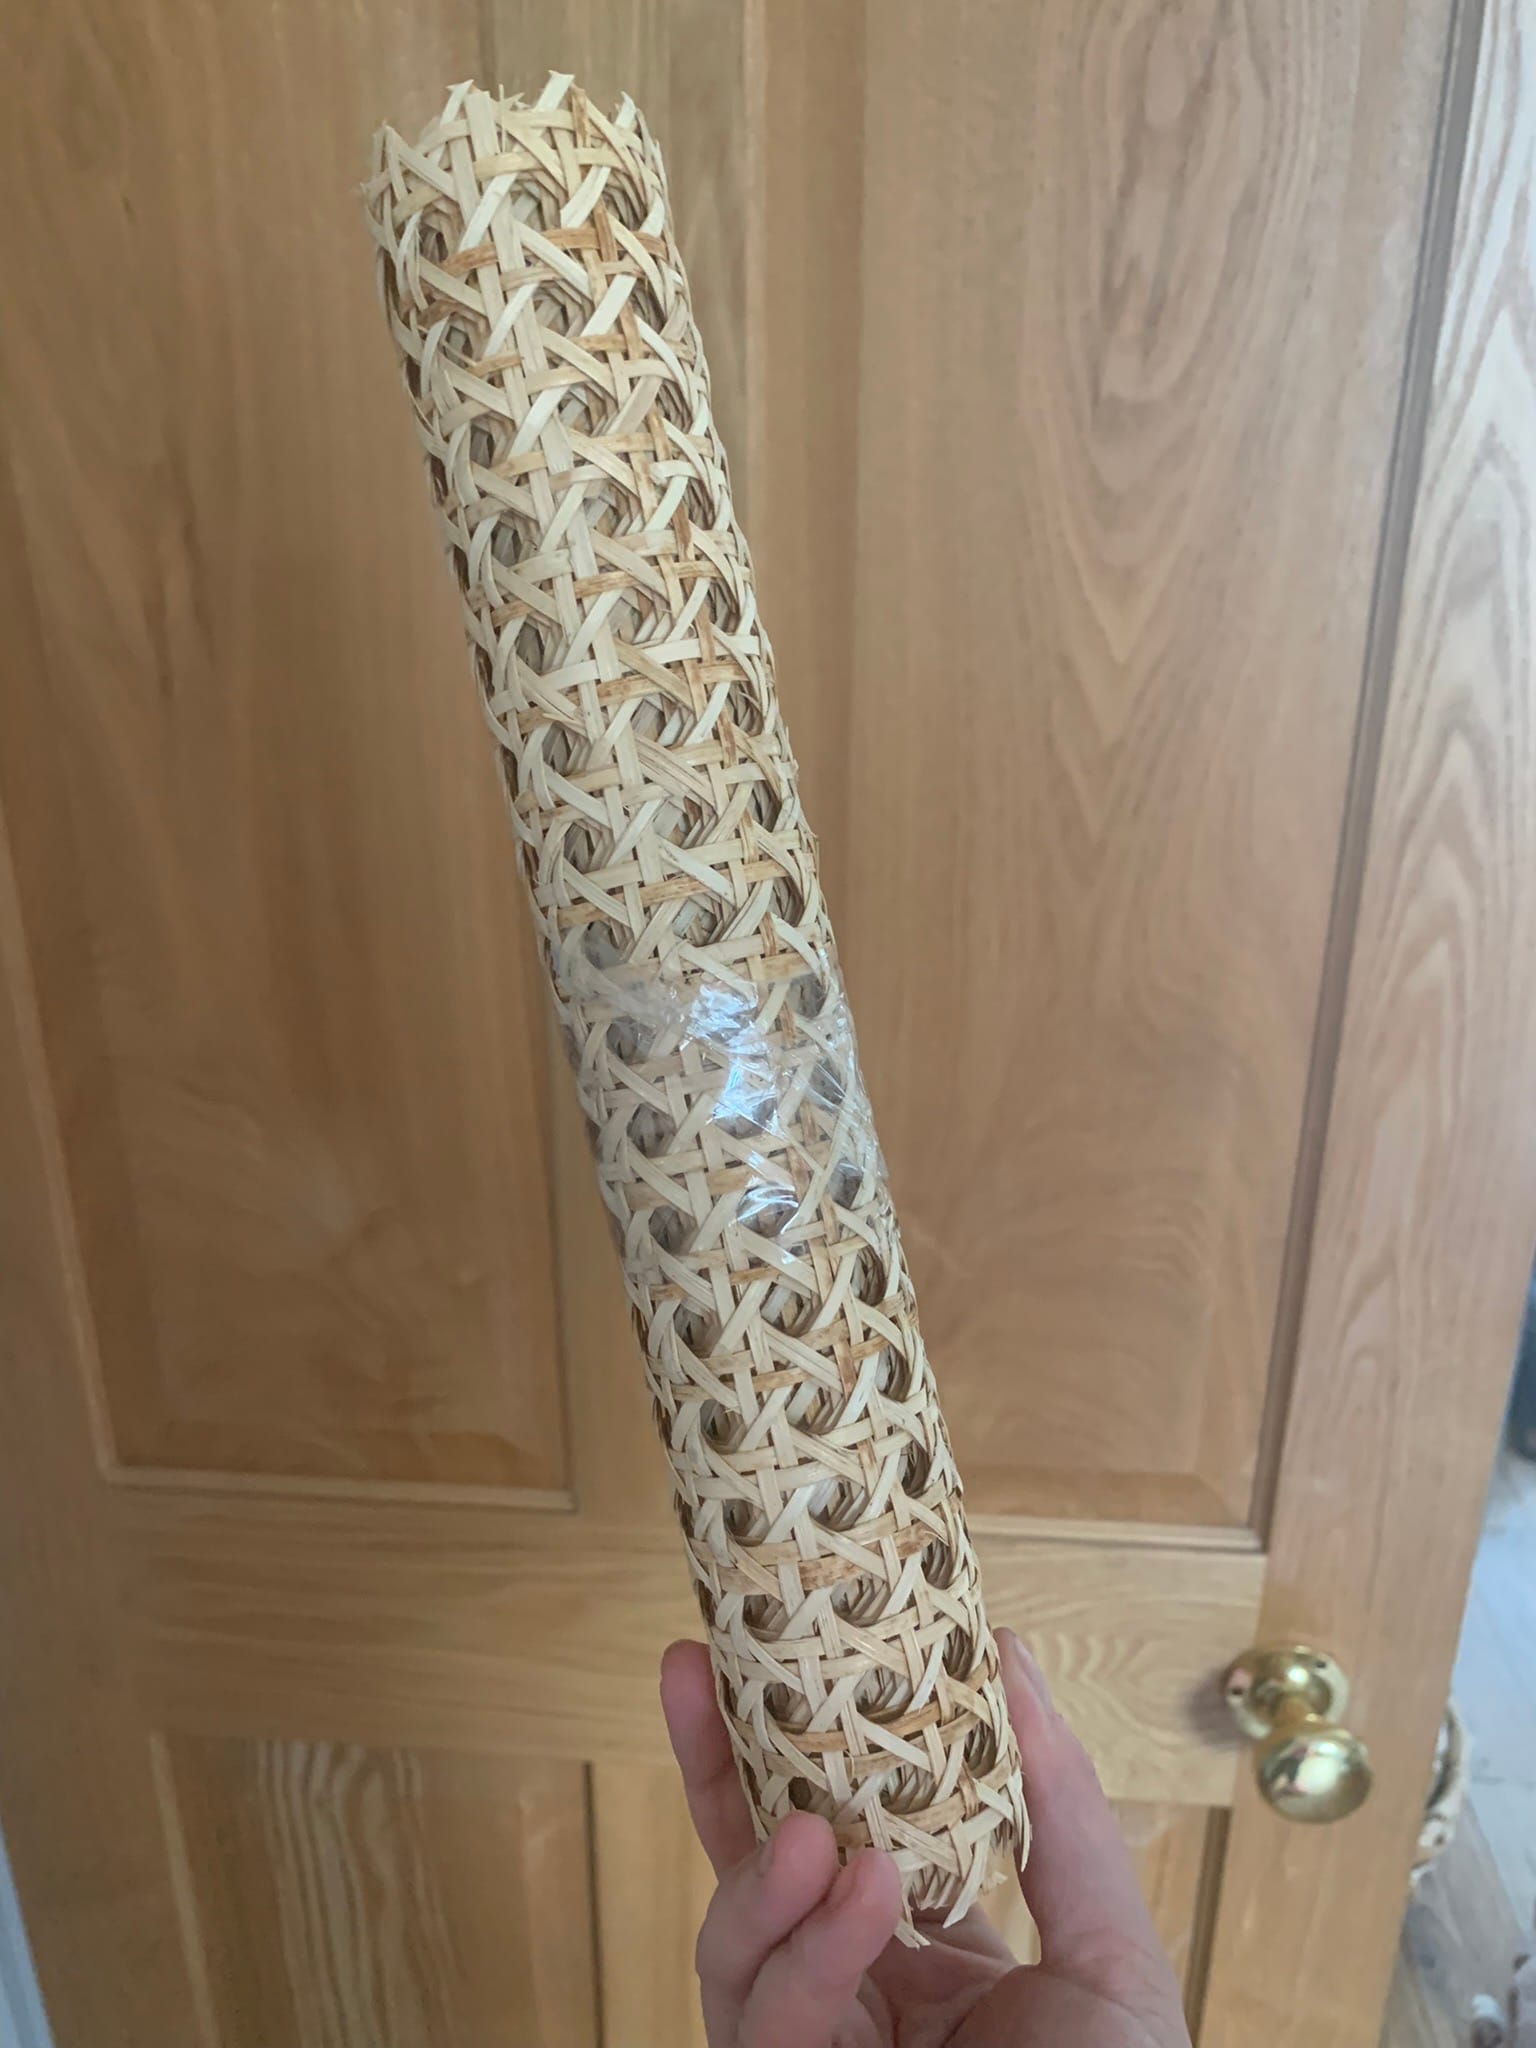
- roll of rattan from Etsy - this was around £12
- drawing pins
- scissors
- mini roller & tray
- paintbrush
- dolls house hinge (fits the 9mm mdf)
- door handle of choice
- glue to attach handle
Step by step:
Step 1: Draw the shape
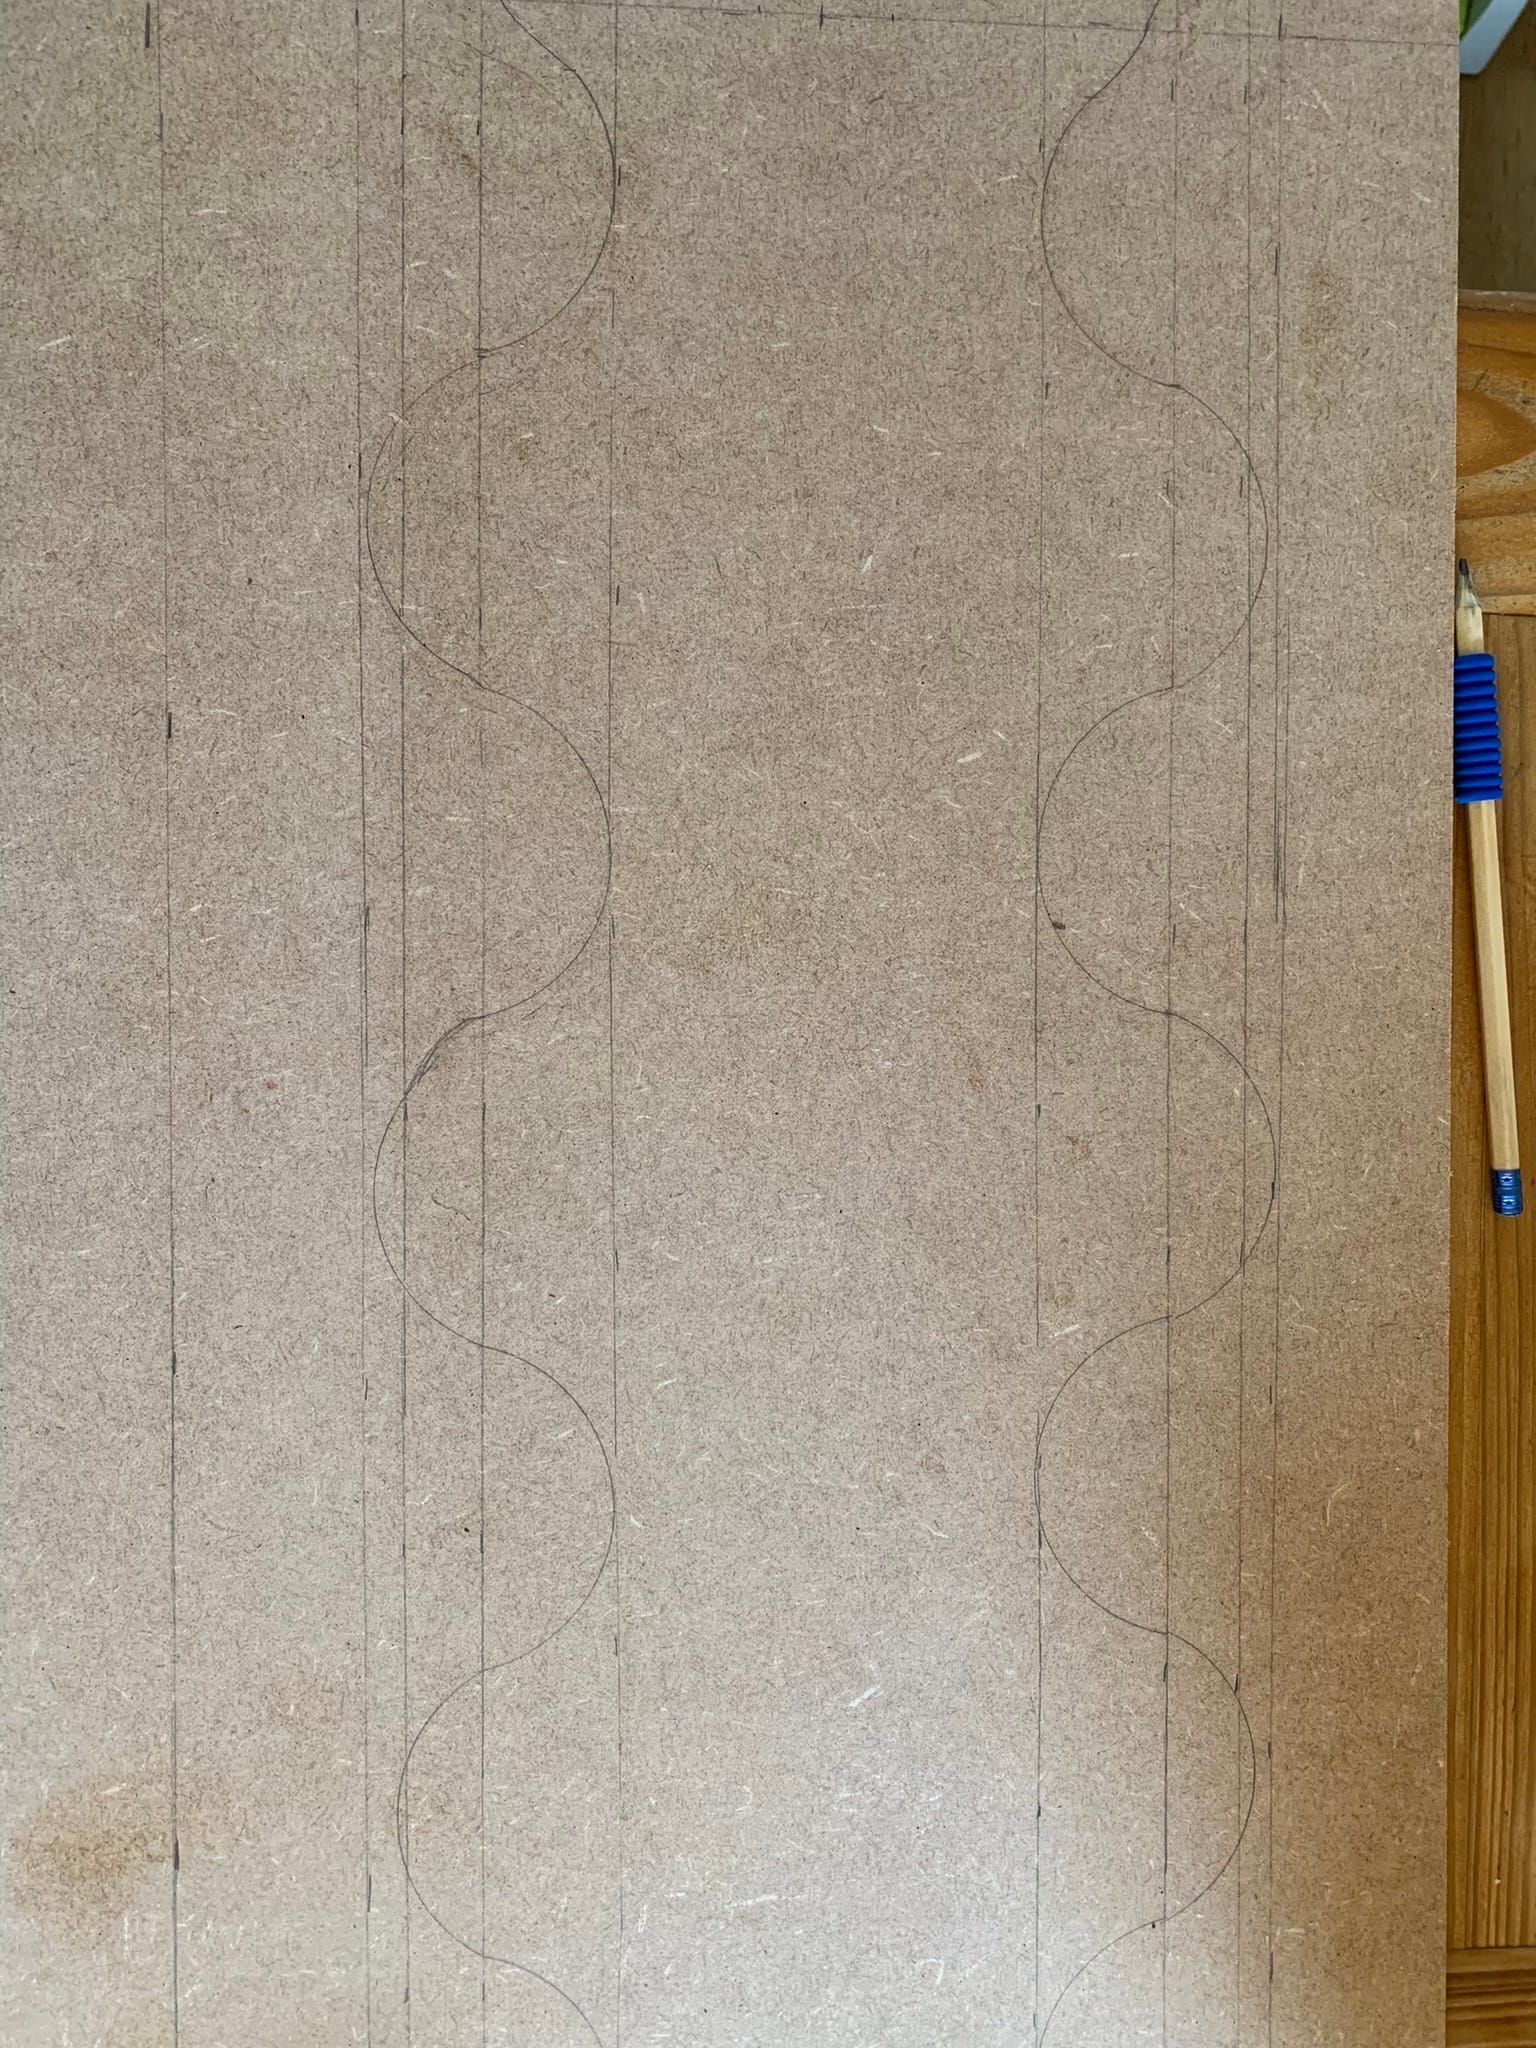
Using the ruler mark two lines in pencil which will guide the height of the wiggle. Using the glass mark a “C” shape (half the glass) and then alternate to circle around the other half of the glass to make the wiggle. See the picture of how I did this.
The pencil lines can be redone at any point if you are not happy with the shape. For the top and bottom of the wiggle, depending on the size of your glass, you may need to freehand.
Step 2: Sawing
Secure the MDF when attached to your workbench. Start using a drill to make one hole into the MDF. This helps to then provide the start point of the wiggle. Start to cut around the wiggle shape. If you need to, you can stop partway around and then start again.
This was the first time I had used a jigsaw. As I didn’t know how I would get on with it I didn’t want to spend a lot of money so I just got a basic one from B&Q! You can buy new blades for it in the future.
Step 3: Sanding & Painting
Your door should now have its wiggle done. The shape is actually quite forgiving so if you think your curve is looking a bit wonky you can use sandpaper to smooth it out before painting.
So next up we need to paint it. Because it is MDF you need to use a primer suitable before using your chosen colour. I found 1 coat of primer and 2 of your paint colour gave the best coverage. Make sure you leave enough time between coats too!
Step 4: Add the Rattan
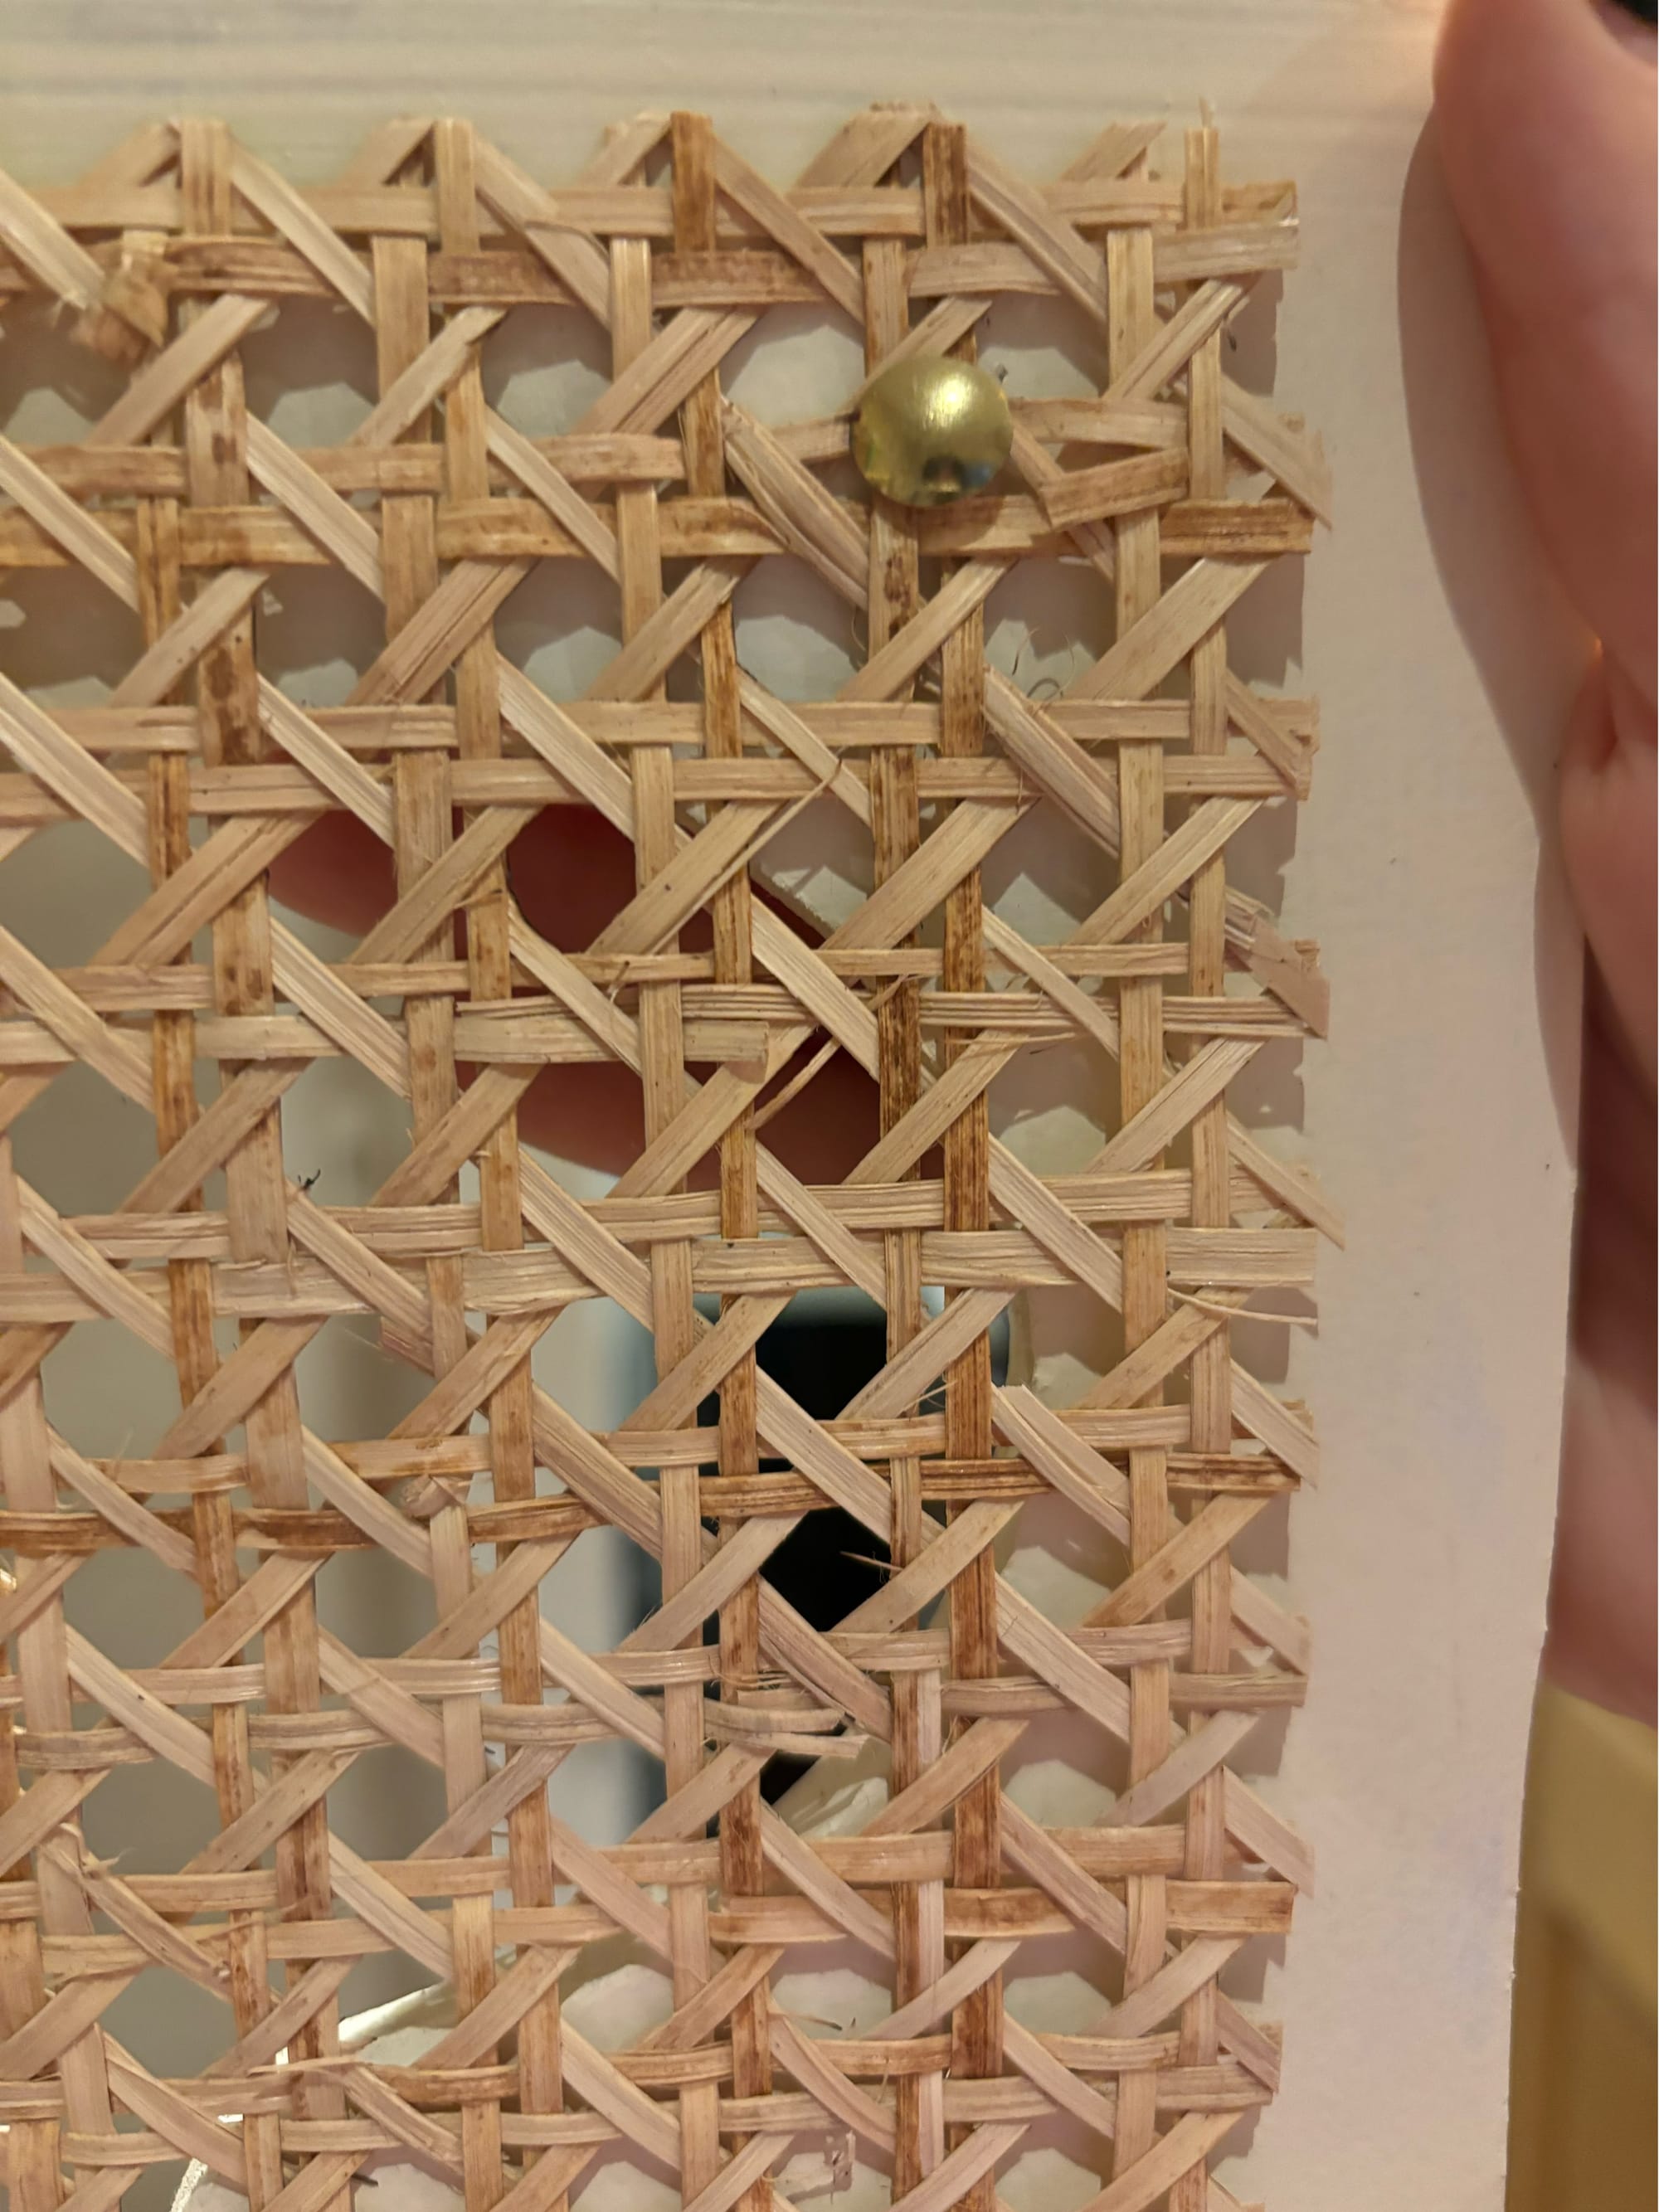
Next up my favourite part adding the rattan to the door. This really transforms the wiggle shape and makes it stand out. I used drawing pins to attach the rattan to the door. If your MDF is thicker you could use nails to attach it but I found the drawing pins worked well. You can trim any excess easily with scissors.
Step 5
Attach your hinges to the door using a drill. I decided to spread the 2 hinges in the middle of the door so that it doesn’t sag. Attach your handle as the final finishing touch with wood glue and you are done!
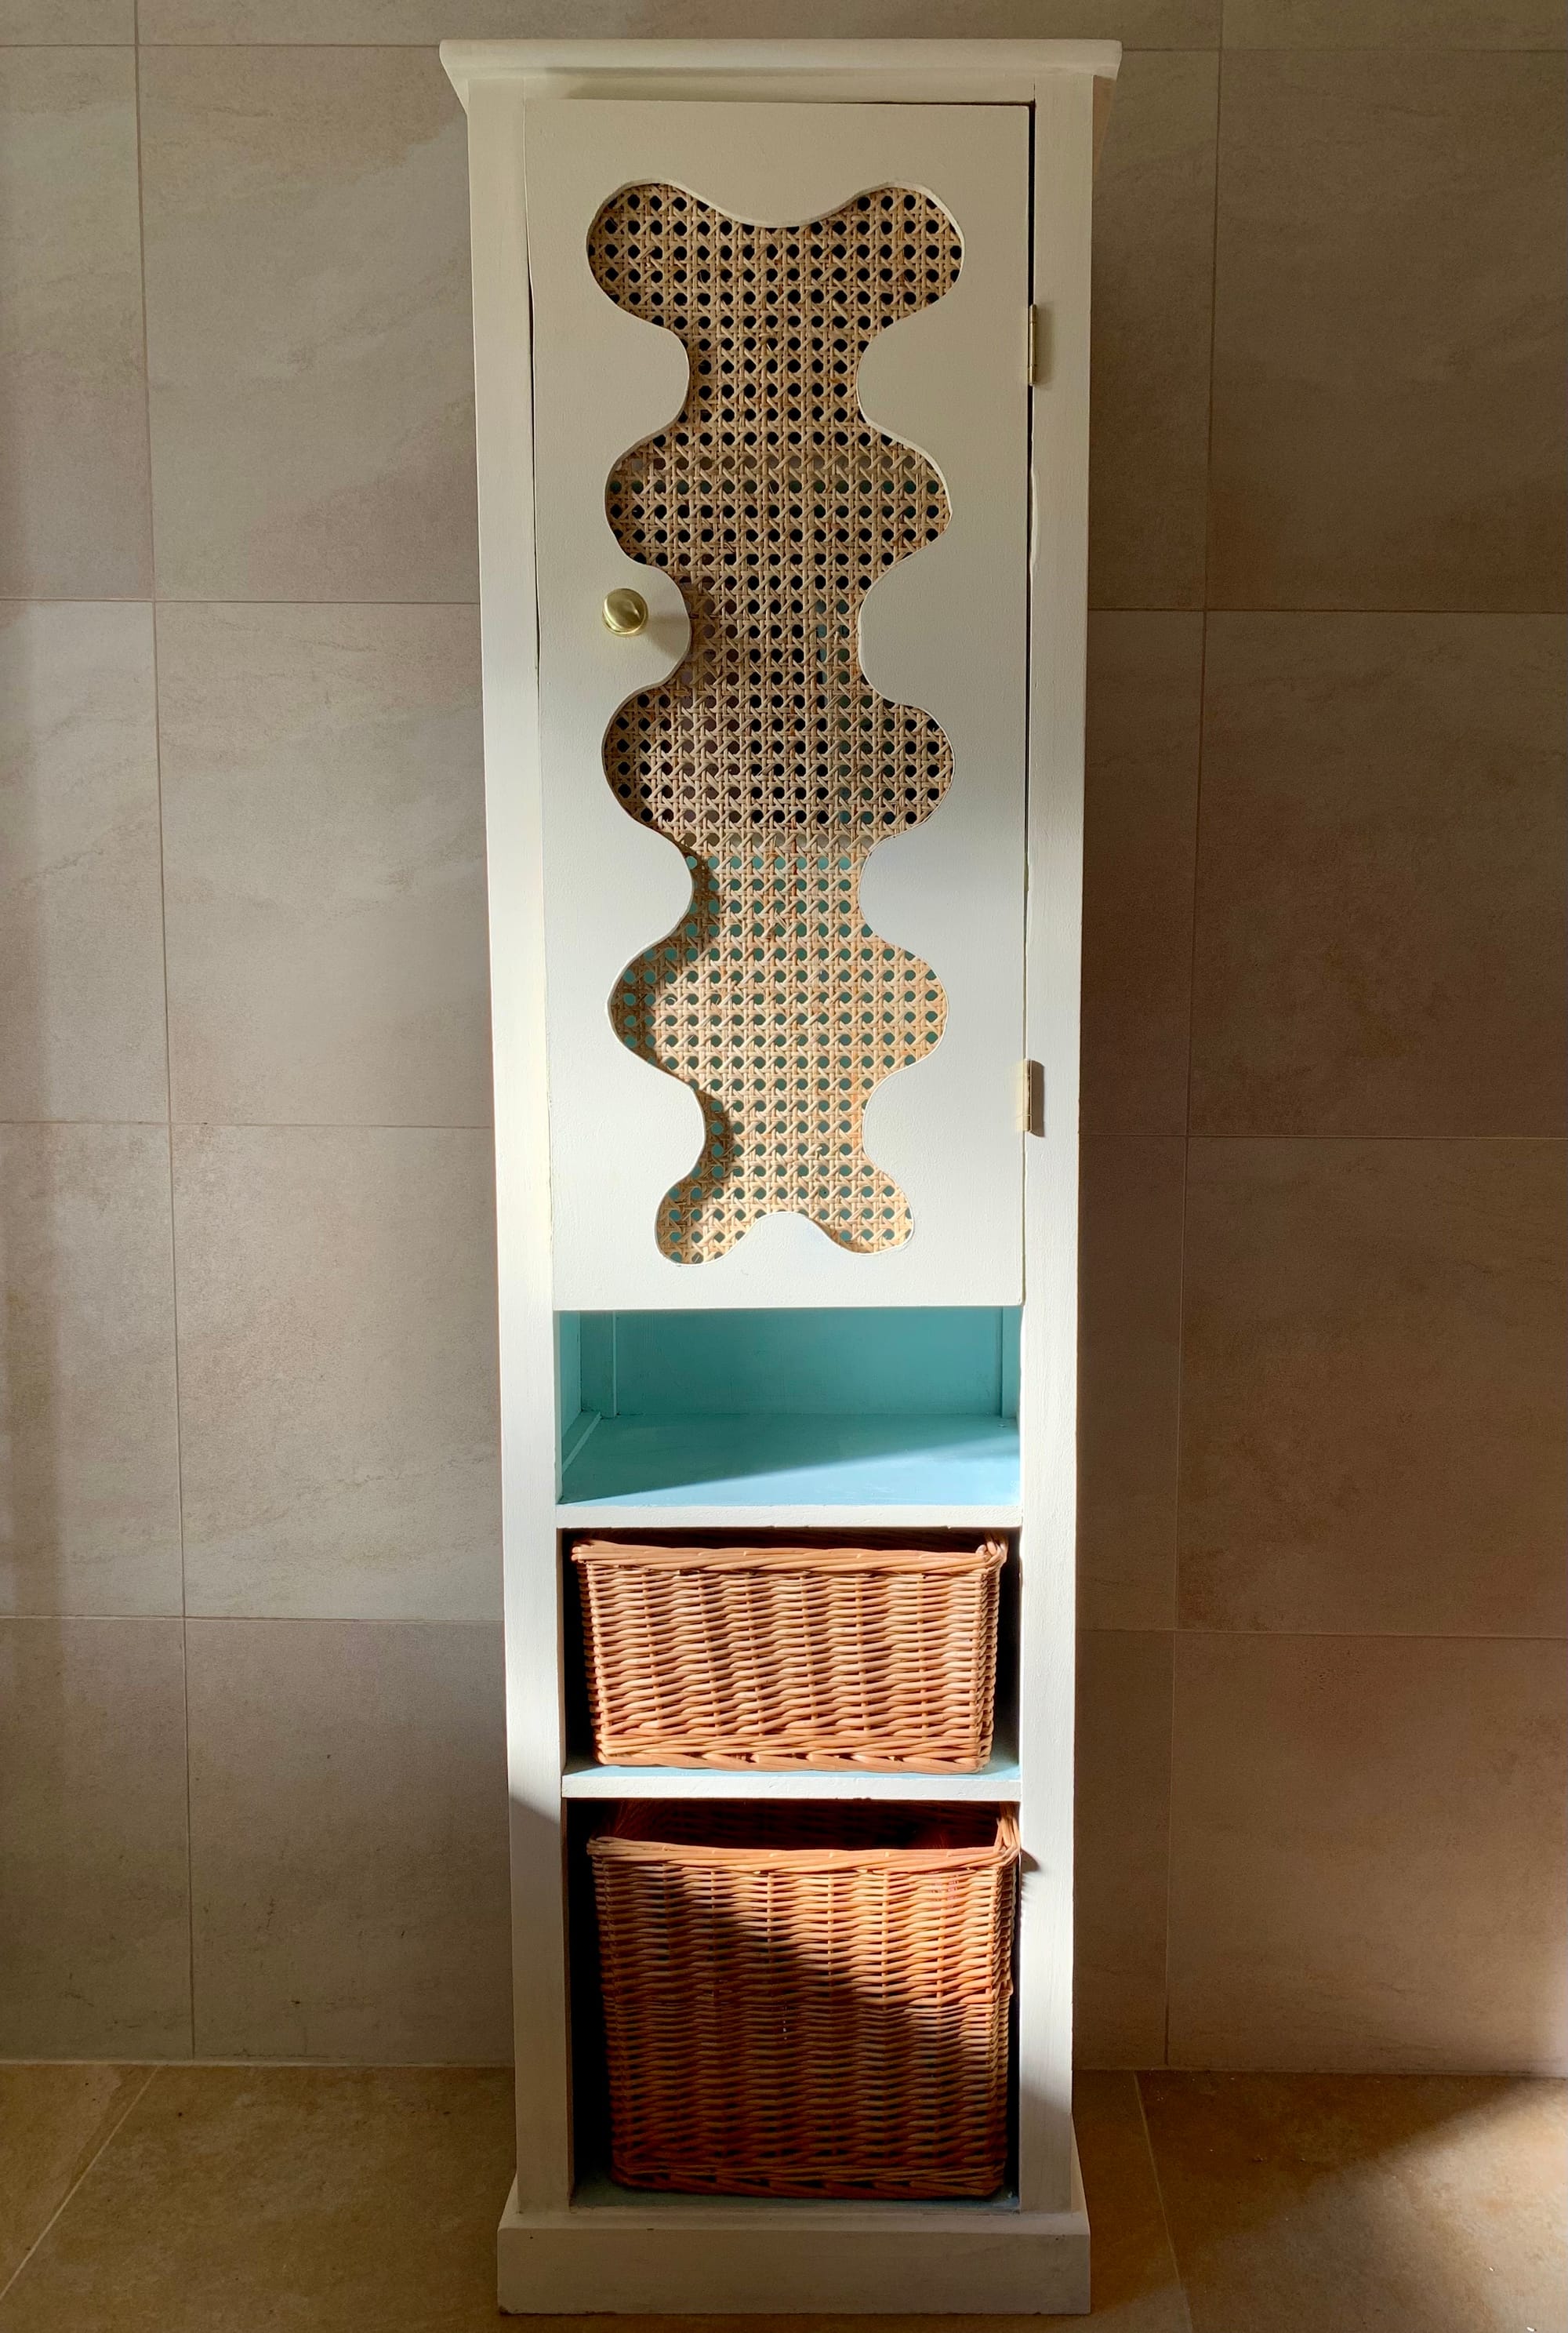
I loved the end result of this door!
The roll of rattan was really easy to use and I think it would be amazing to use on other DIY projects. It is also really affordable and can be customised to how you want your door to look.

Creator: Natasha
Instagram: @homeofnatasha


